The Art of Hanging: Why Hiring a Professional is the Key to Perfectly Displayed Art
The Ultimate Guide on How to Hang Pictures Like a Pro
Introduction
As an art enthusiast, I have always believed that displaying artwork in the right way can enhance its beauty and impact. There is an art to hanging art, and it goes beyond simply nailing a frame to the wall. In this comprehensive guide, I will take you through the importance of properly hanging art, common mistakes to avoid, step-by-step instructions on how to hang a picture on the wall, determining the ideal height for hanging pictures, necessary tools and materials, tips for hanging pictures evenly and securely, creating a gallery wall, hanging art in different spaces, and finally, the benefits of hiring a professional art installer.
The Importance of Properly Hanging Art
Art is meant to be admired and appreciated, and how it is displayed plays a crucial role in its impact. Properly hanging art not only enhances the aesthetics of your space but also ensures its preservation. When art is hung incorrectly, it can lead to damage such as warping, fading, or even falling off the wall. Therefore, taking the time and effort to hang art correctly is essential.
Common Mistakes When Hanging Art
Before diving into the process of hanging art, it's important to be aware of some common mistakes that many people make. One of the most prevalent mistakes is hanging art too high or too low on the wall. This can create an awkward viewing angle and disrupt the overall balance of the room. Another mistake is using the wrong tools or materials, such as using regular nails instead of picture hooks or using adhesives that can damage the artwork or wall. Lastly, failing to consider the weight and size of the artwork can lead to instability and potential accidents.
How to Hang a Picture on the Wall
Now that we understand the significance of properly hanging art and the common mistakes to avoid, let's delve into the step-by-step process of hanging a picture on the wall.
- Gather the necessary tools and materials: Before starting, make sure you have all the required tools and materials. These may include a tape measure, pencil, level, picture hooks, hammer, and hanging wire or D-rings.
- Prepare the wall: Clean the wall and remove any dust or debris. This will ensure a smooth surface for hanging.
- Measure and mark: Use a tape measure to determine the desired height for hanging the picture. Consider factors such as the eye level of viewers and the surrounding furniture. Mark the spot lightly with a pencil.
- Install picture hooks: Depending on the weight of the artwork, select appropriate picture hooks. Position the hooks on the marked spot and hammer them into place. Make sure they are securely attached to the wall.
- Attach hanging wire or D-rings: If your artwork has a wire or D-rings, attach them securely to the back of the frame. Ensure that they are centered and level.
- Hang the picture: Carefully lift the artwork and hook it onto the picture hooks. Use a level to ensure that the picture is straight and adjust if necessary.
- Step back and admire: Step back and view the picture from different angles to ensure it is in the desired position. Make any final adjustments if needed.
Determining the Height for Hanging Pictures
One of the most frequently asked questions when it comes to hanging pictures is: how high should I hang them? The ideal height for hanging pictures varies depending on the space and the purpose of the artwork. Here are some general guidelines to help you determine the perfect height:
- In a living room or hallway, eye-level height is generally recommended. This allows for comfortable viewing without straining the neck.
- In a dining room, consider hanging the artwork slightly lower to create a more intimate atmosphere.
- In a bedroom, you can experiment with different heights. Hanging artwork above a headboard or at eye level when seated can create a cohesive and relaxing ambiance.
- In an office or workspace, it is recommended to hang art at eye level to inspire creativity and provide visual interest.
Remember, these are just guidelines, and personal preference should also be taken into account. The key is to strike a balance between functionality and aesthetics.
Tools and Materials Needed for Hanging Art
To hang art like a pro, it's essential to have the right tools and materials at your disposal. Here is a list of items you will need:
- Tape measure: A tape measure is crucial for accurately measuring the wall space and determining the desired height for hanging pictures.
- Pencil: A pencil is used to mark the spot where the picture hooks will be installed.
- Level: A level is necessary to ensure that the artwork is straight and balanced on the wall.
- Picture hooks: Picture hooks come in various sizes and weight capacities. Choose hooks that can support the weight of your artwork.
- Hammer: A hammer is needed to securely install the picture hooks.
- Hanging wire or D-rings: Hanging wire or D-rings are used to attach the artwork to the picture hooks.
Having these tools readily available will make the process of hanging art much smoother and more efficient.
Tips for Hanging Pictures Evenly and Securely
Now that you are equipped with the necessary tools and knowledge, here are some additional tips to ensure that your pictures are hung evenly and securely:
- Use a level: Always use a level to ensure that your artwork is straight. This will prevent any unnecessary tilting or crookedness.
- Create a template: If you are hanging multiple pictures or creating a gallery wall, create a template by tracing the frames on a piece of paper or cardboard. This will help you visualize the layout before committing to hanging the pictures.
- Arrange with balance: When hanging multiple pictures, consider the overall balance of the arrangement. Experiment with different layouts, spacing, and sizes to create a visually pleasing composition.
- Consider lighting: Take into account the lighting conditions in the room. Avoid hanging artwork in direct sunlight or near heat sources, as this can cause fading or damage over time.
- Secure heavy artwork: For larger or heavier artwork, consider using additional support such as wall anchors or screws to ensure stability and prevent accidents.
By following these tips, you can achieve a beautifully arranged display of art that will enhance the atmosphere of any space.
How to Hang Multiple Pictures to Create a Gallery Wall
Creating a gallery wall is a fantastic way to showcase multiple pieces of art or photographs. To create an eye-catching and cohesive gallery wall, follow these steps:
- Choose a theme or style: Decide on a theme or style that will tie the artwork together. This can be based on the subject matter, color palette, or even frame style.
- Select the pictures: Choose the pictures or artwork that you want to include in your gallery wall. Consider the sizes, shapes, and colors to create a visually pleasing arrangement.
- Create a layout: Lay out the pictures on the floor or a large table to experiment with different arrangements. Play with the spacing, overlapping, and angles until you find a layout that you are happy with.
- Create templates: Trace each frame onto paper or cardboard and cut them out. Use these templates to experiment with different arrangements on the wall before committing to hanging the pictures.
- Start hanging: Begin by hanging the center or focal point of your gallery wall. Use the templates as a guide to determine the spacing and placement of each picture. Remember to use a level to ensure that they are straight.
- Fill in the gaps: Once the main pictures are hung, fill in the remaining spaces with smaller pictures or artwork to create a balanced and visually appealing composition.
Creating a gallery wall may require some trial and error, but the end result will be a stunning display of art that reflects your personal style and creativity.
Hanging Art in Different Spaces - Living Room, Bedroom, Office, etc.
Now that we have covered the basics of hanging art, let's explore some tips and considerations for hanging art in different spaces.
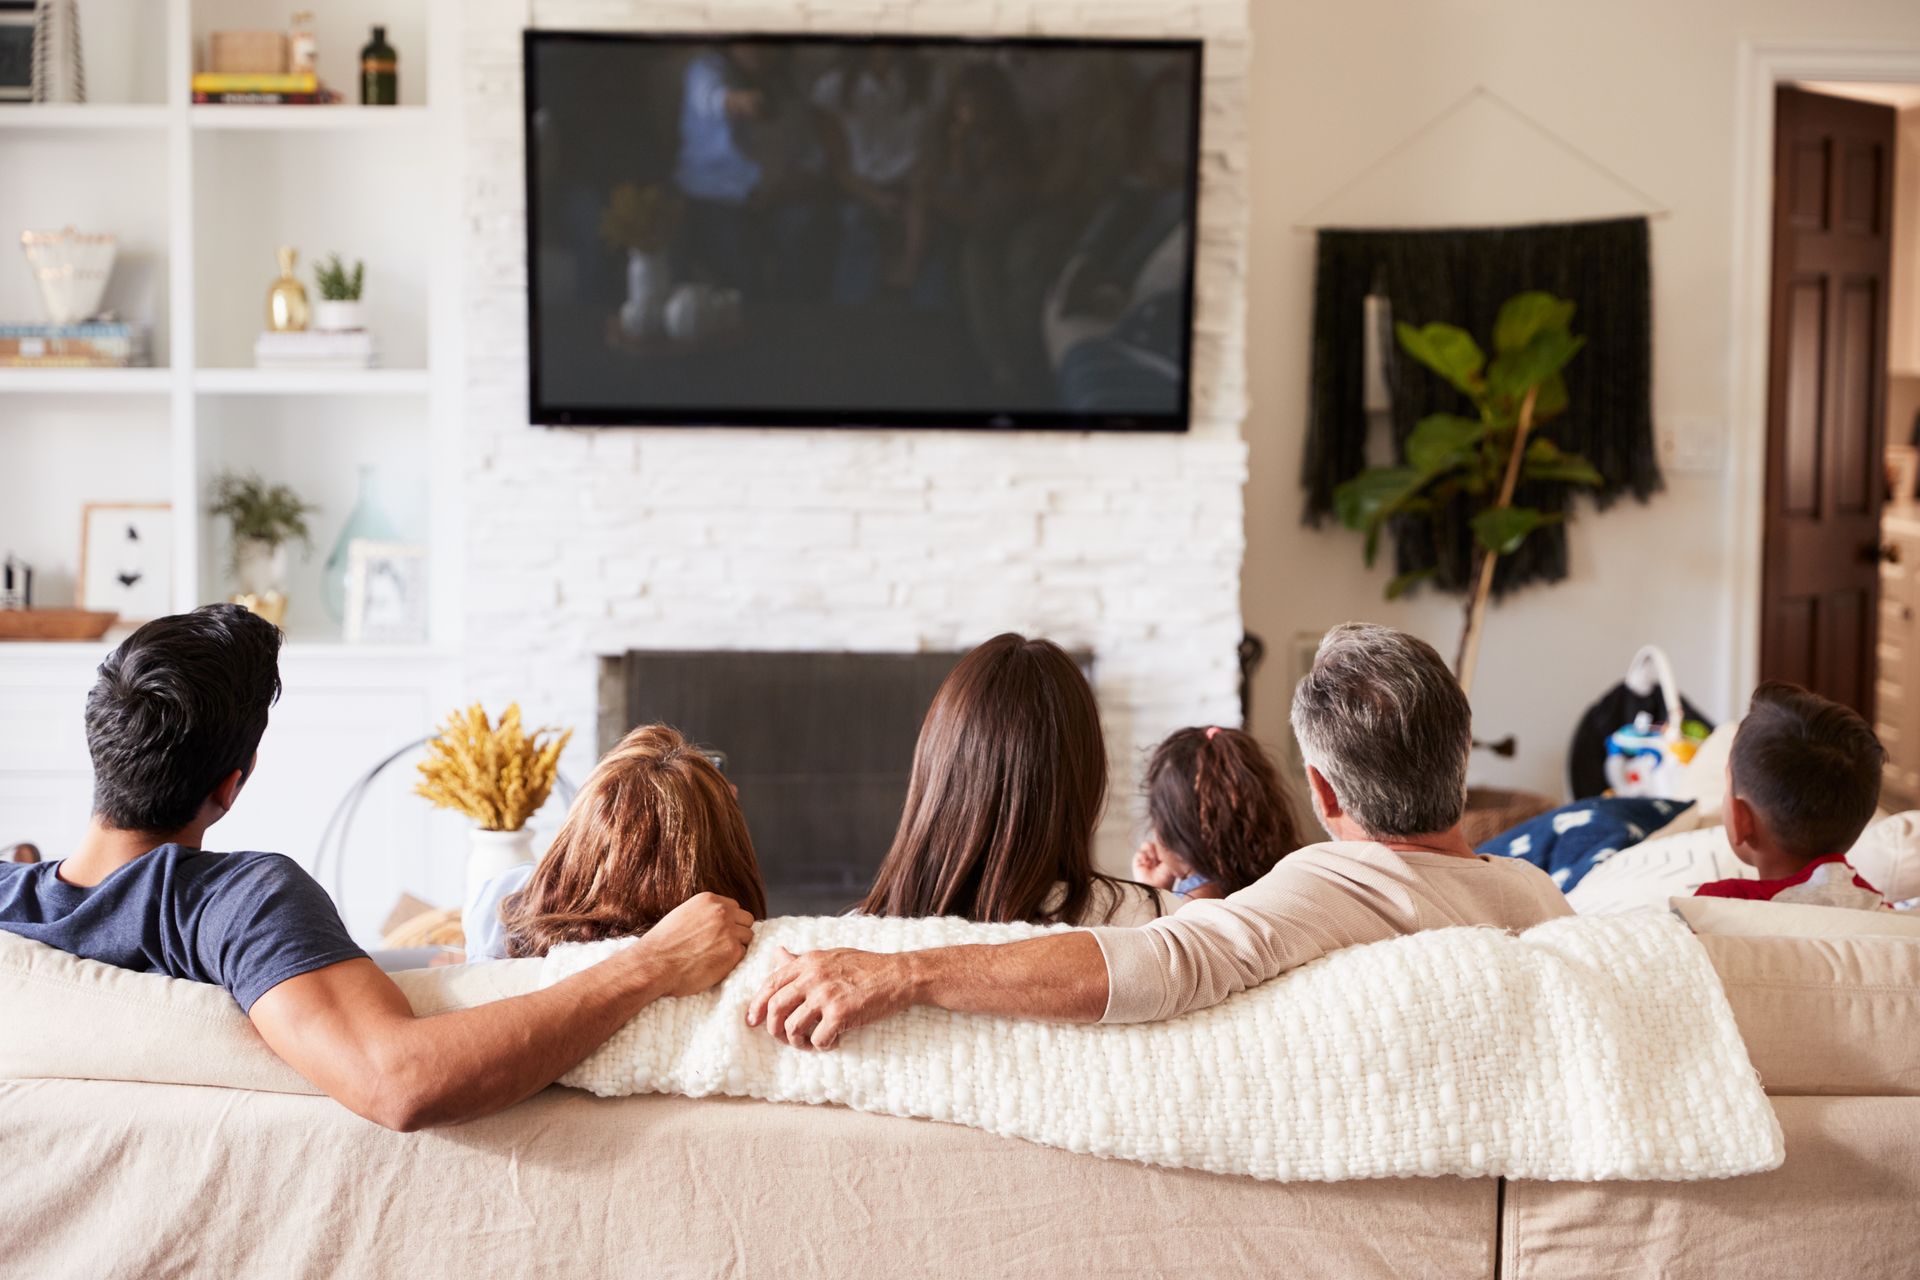
Living Room
The living room is often the centerpiece of a home, and the artwork you choose can significantly enhance its ambiance. Here are some tips for hanging art in the living room:
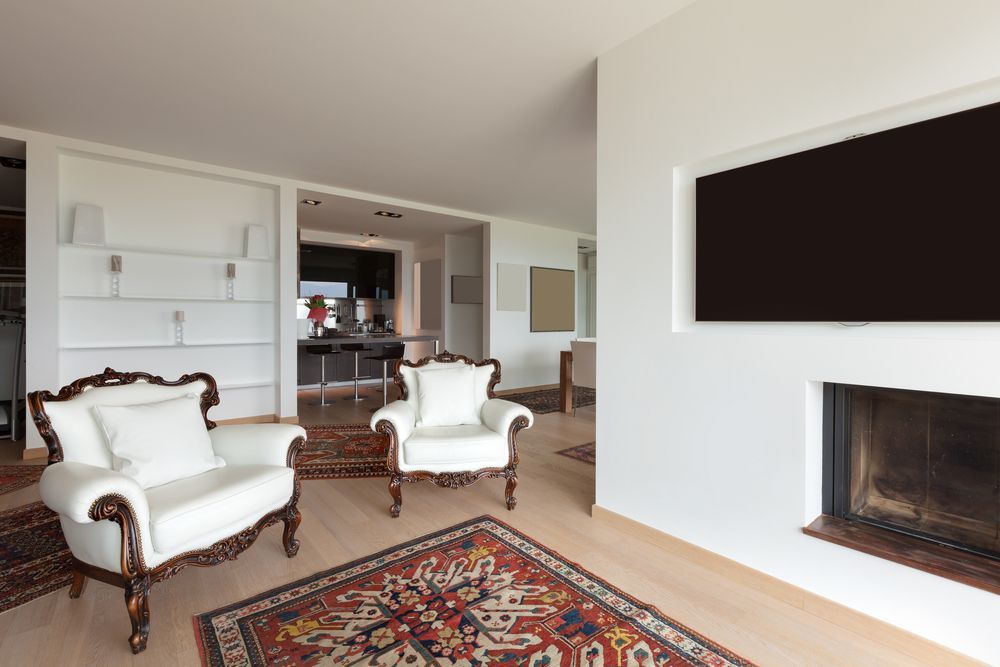
- Create a focal point: Choose a large piece of art or a gallery wall as a focal point in the room. This can be above a fireplace, behind a sofa, or on an empty wall.
- Consider the furniture: Hang artwork at eye level when standing or seated to ensure comfortable viewing. If you have low furniture, consider hanging the art slightly lower to create a cohesive look.
- Play with size and scale: In a spacious living room, large-scale artwork can make a bold statement. For smaller living rooms, a collection of smaller artwork or photographs can create visual interest.
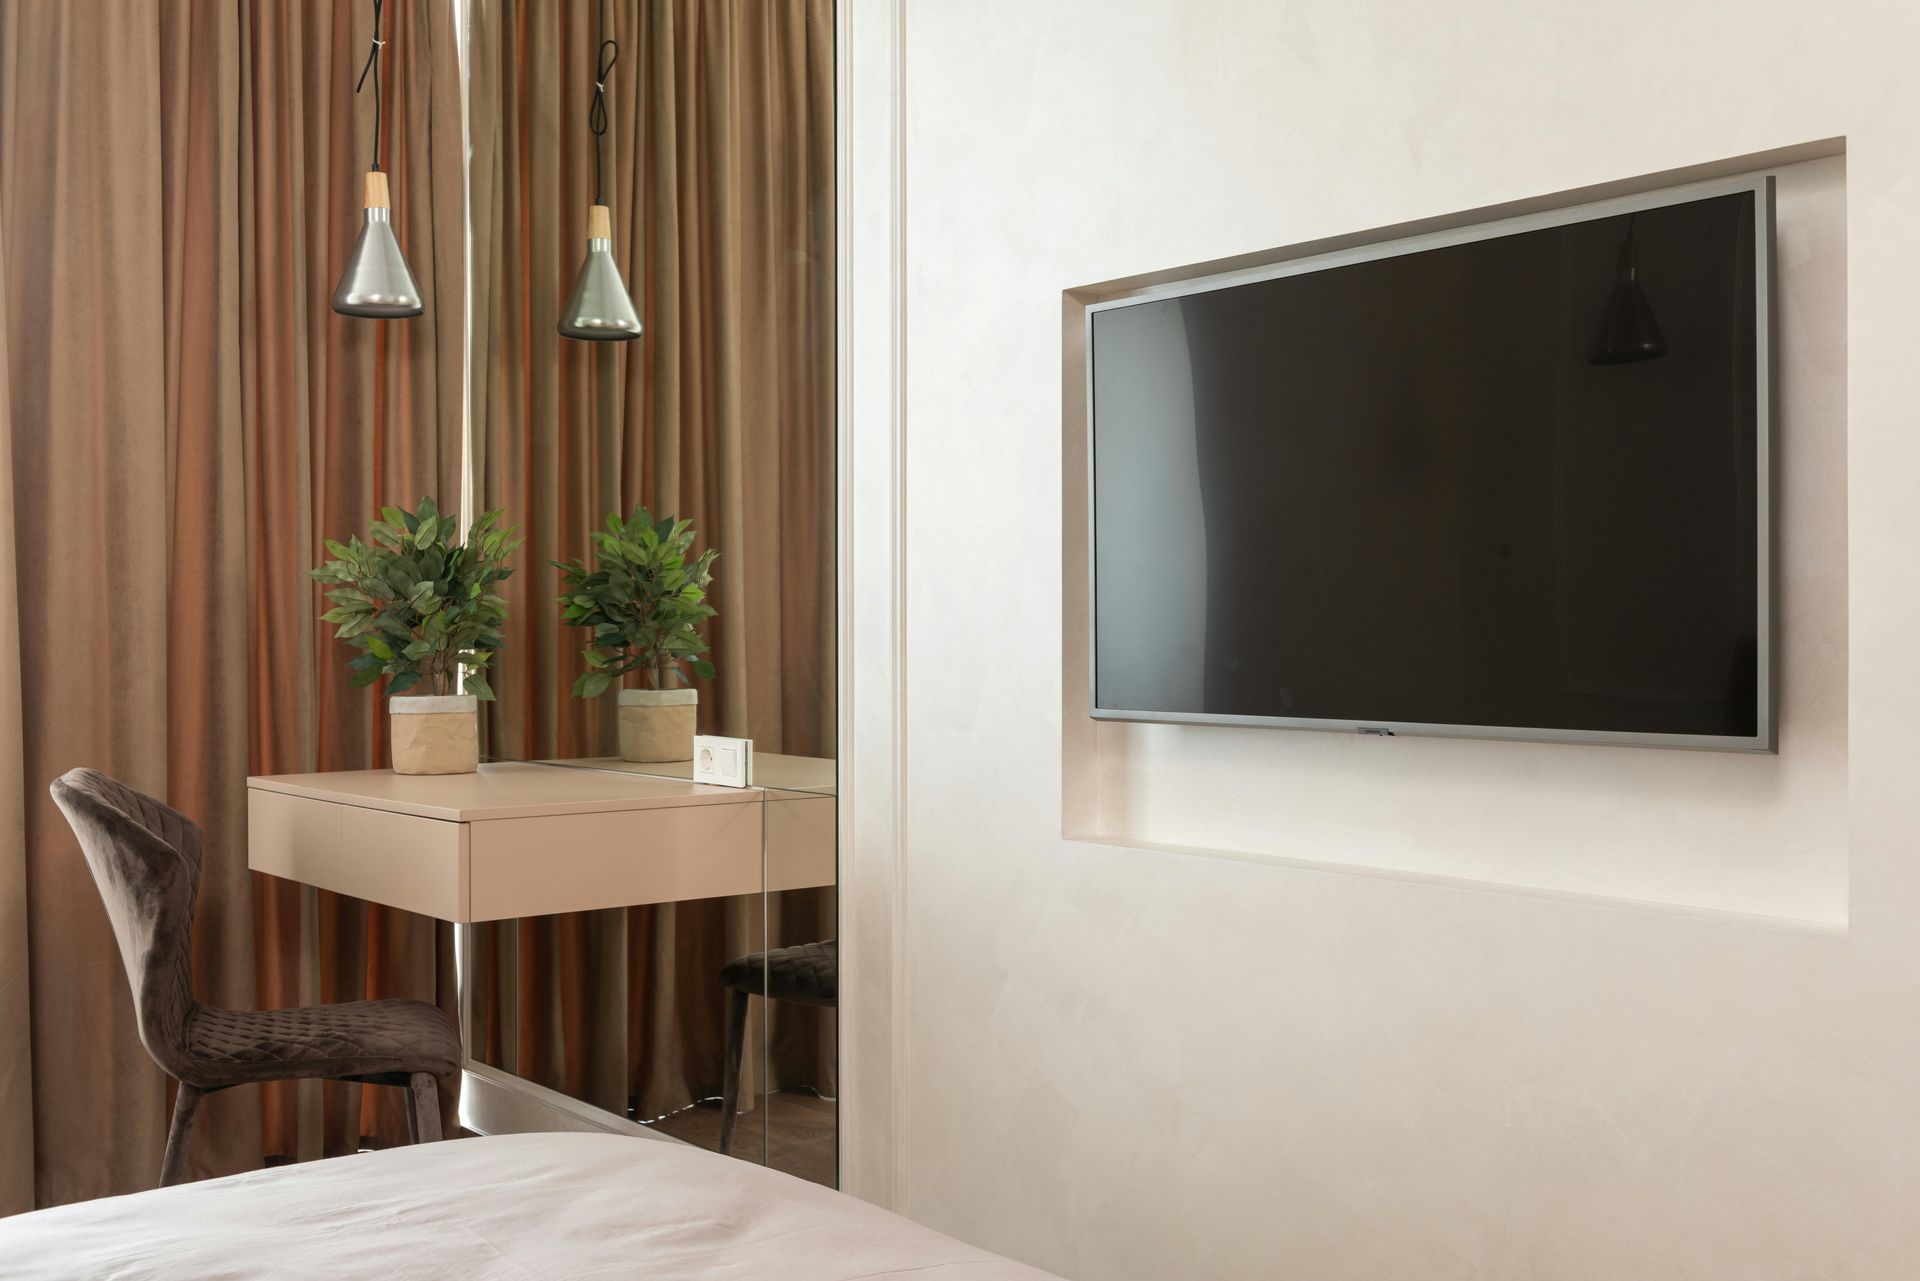
Bedroom
The bedroom is a personal sanctuary, and the artwork you choose should reflect your individual taste and create a relaxing atmosphere. Here are some tips for hanging art in the bedroom:
- Above the headboard: Hang a single large piece or a collection of smaller artwork above the headboard. Make sure the artwork is proportionate to the size of the bed and centered.
- Consider the color palette: Choose artwork that complements the color scheme of the bedroom. Soft and calming colors are ideal for creating a peaceful atmosphere.
- Create a gallery wall: If you have a spacious bedroom, consider creating a gallery wall above a dresser or vanity. This can be a mix of artwork, photographs, and even mirrors.
Office
The office or workspace is an area where creativity and productivity thrive. Hanging art in your office can provide inspiration and visual interest. Here are some tips for hanging art in the office:
- Hang at eye level: Hang artwork at eye level when seated to create a more engaging and inspiring workspace.
- Choose motivational art: Select artwork that motivates and inspires you. This can be quotes, abstract art, or photographs that evoke positive emotions.
- Mix art and function: Consider hanging a combination of artwork and functional elements such as a corkboard or whiteboard. This provides both visual interest and practicality.
By considering the unique characteristics of each space, you can create a visually appealing and harmonious display of art that complements the atmosphere and purpose of the room.
The Benefits of Hiring a Professional Art Installer
While hanging art can be a rewarding DIY project, there are several benefits to hiring a professional art installer. Here are a few reasons why hiring a professional is the key to perfectly displayed art:
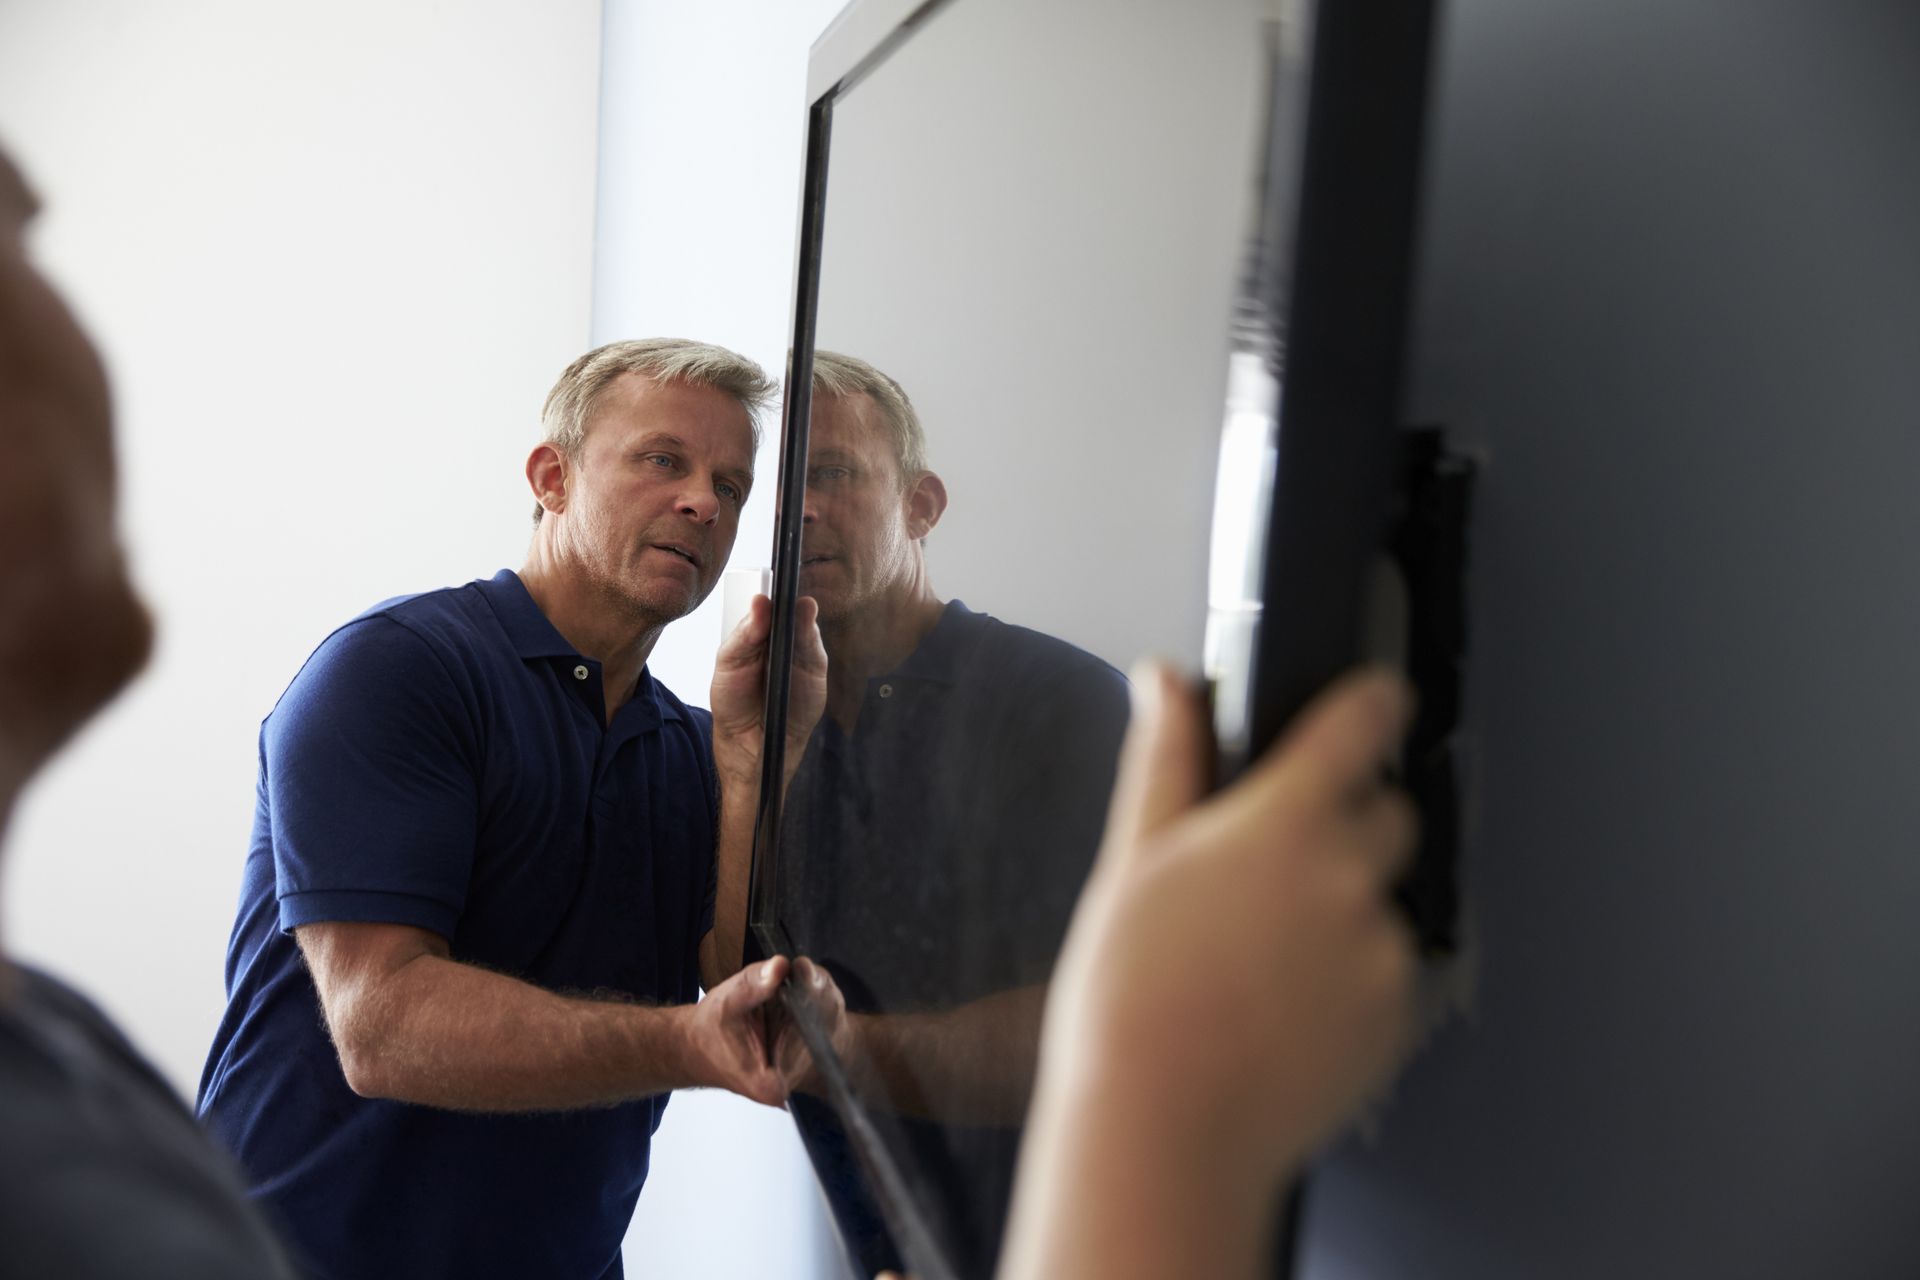
- Expertise and experience: Professional art installers have extensive knowledge and experience in handling artwork of various sizes, weights, and mediums. They understand the intricacies of hanging art and can ensure that it is done correctly and securely.
- Preservation and conservation: Art installers are well-versed in preservation and conservation techniques. They know how to handle delicate and valuable artwork to prevent damage or deterioration.
- Efficiency and precision: Professional art installers have the necessary tools, equipment, and techniques to hang artwork efficiently and precisely. They can complete the installation in a fraction of the time it would take for an inexperienced individual.
- Customized solutions: Art installers can provide customized solutions based on your specific needs and preferences. They can offer expert advice on choosing the right hanging systems, lighting, and arrangements to enhance the impact of your artwork.
- Peace of mind: Hiring a professional art installer gives you peace of mind knowing that your artwork is in safe hands. They are insured and take full responsibility for the installation, reducing the risk of accidents or damage.
Conclusion
Properly hanging art is an art form in itself. It requires careful consideration of aesthetics, functionality, and preservation. By following the step-by-step instructions, tips, and guidelines in this guide, you can confidently hang your art like a professional. However, if you want to ensure a flawless display and enjoy the numerous benefits of hiring a professional art installer, I highly recommend reaching out to Hangman Mounting & Installation. Their expertise, precision, and passion for art will guarantee that your artwork is perfectly displayed, creating a visually stunning and harmonious space. Get in touch with Hangman Mounting & Installation for your Wall Art Hanging Service. We would be happy to assist with your project.