A Step-by-Step Guide to Safely Mounting a TV Above a Fireplace
Write about something you know. If you don’t know much about a specific topic that will interest your readers, invite an expert to write about it.
Introduction: The growing trend of mounting TVs above fireplaces
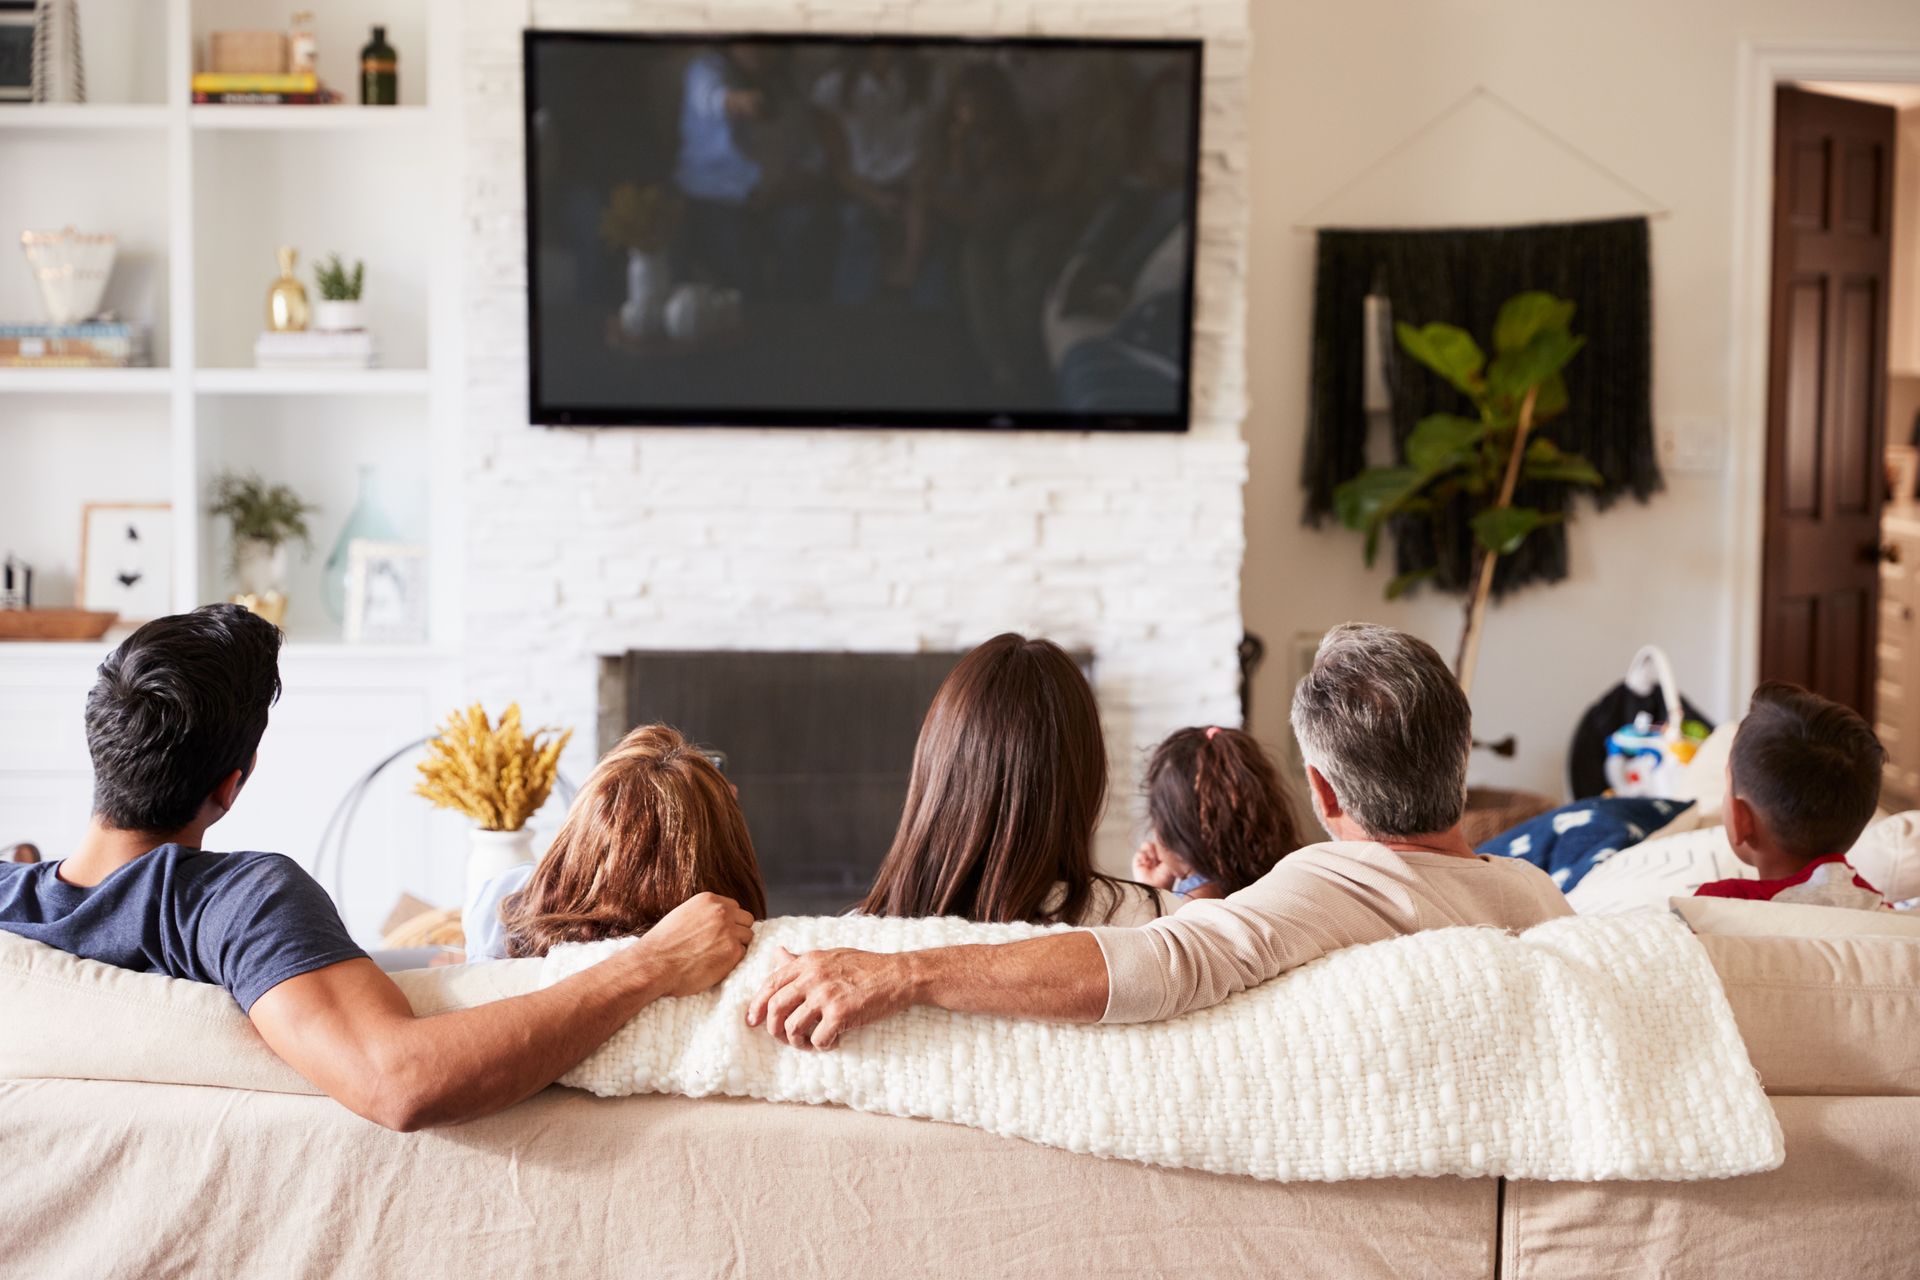
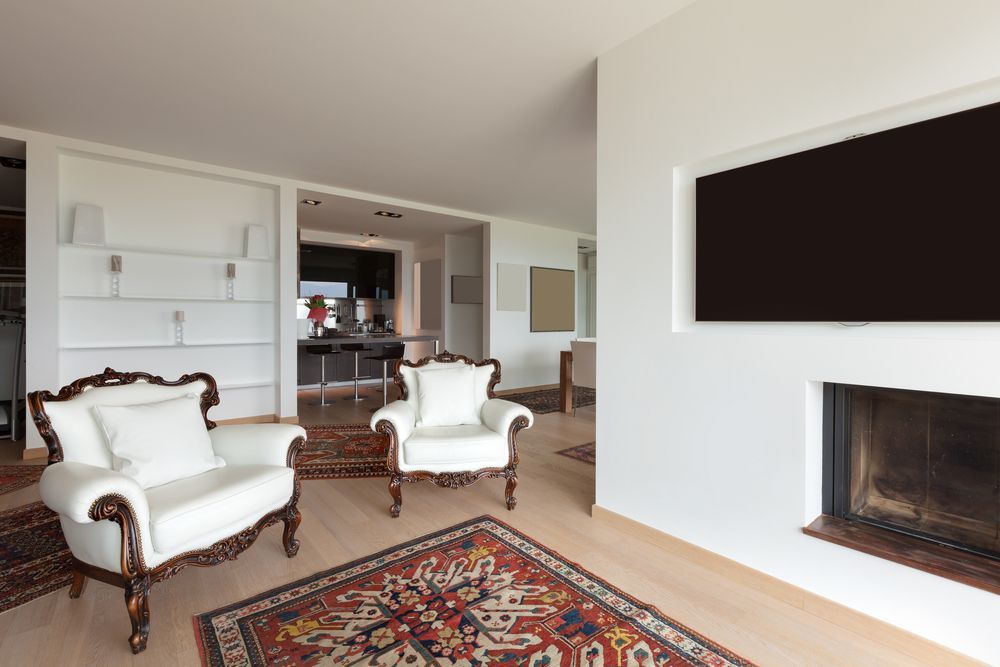
In recent years, there has been a growing trend of mounting televisions above fireplaces. This popular design choice not only maximizes space in the living room but also provides an aesthetically pleasing focal point for the room. However, before embarking on this project, it is important to consider several factors to ensure the safety and functionality of the setup. In this step-by-step guide, I will walk you through the process of safely mounting a TV above a fireplace, from evaluating the structural integrity of the wall to concealing cables for a clean and organized look.
Factors to consider before mounting a TV above a fireplace
Before diving into the installation process, there are a few important factors to consider. Firstly, you need to ensure that the wall above your fireplace is structurally sound and capable of supporting the weight of both the TV and the mounting hardware. It is advisable to consult with a professional contractor or structural engineer to evaluate the wall's integrity.
Additionally, you should consider the heat generated by the fireplace. Excessive heat can damage the TV and affect its performance. If you have a wood-burning fireplace, it is crucial to install a heat shield or mantel above the fireplace to protect the TV from direct heat exposure. For gas fireplaces, it is important to check the manufacturer's guidelines regarding safe distances for electronics.
Lastly, consider the viewing angle and comfort. Mounting the TV too high or at an awkward angle can strain your neck and eyes. Take measurements and determine the optimal height and viewing angle based on the layout of your room and seating arrangement.
Safety precautions when mounting a TV above a fireplace
Safety should always be a top priority when undertaking any DIY project. When mounting a TV above a fireplace, there are a few safety precautions you should keep in mind. Firstly, ensure that the fireplace is turned off and completely cooled before starting the installation process. This will prevent any accidental burns or damage to the TV.
Secondly, make sure to use the appropriate tools and equipment for the job. Use a stud finder to locate the wall studs for secure mounting. It is essential to mount the TV on a sturdy wall and avoid using drywall anchors alone, as they may not provide sufficient support.
Lastly, always follow the manufacturer's instructions for both the TV and the mounting hardware. Each TV and mounting bracket may have specific requirements and weight limits, so it is crucial to adhere to these guidelines to ensure a safe and secure installation.
Step 1: Evaluate the structural integrity of the wall and fireplace
Before proceeding with the installation, it is important to evaluate the structural integrity of the wall and fireplace. Start by examining the wall for any signs of damage, such as cracks or water leaks. If you notice any issues, it is advisable to consult with a professional contractor to address them before mounting the TV.
Next, determine the location of the wall studs. Using a stud finder, scan the wall to locate the studs. These studs will provide the necessary support for the TV and mounting hardware. Mark the stud locations with a pencil for reference during the installation process.
Lastly, assess the heat generated by the fireplace. If you have a wood-burning fireplace, it is important to install a heat shield or mantel above the fireplace to protect the TV from direct heat exposure. For gas fireplaces, consult the manufacturer's guidelines to determine the safe distances for electronics.
Step 2: Choose the right mounting hardware
Choosing the right mounting hardware is crucial for a secure and stable TV installation. There are various types of TV mounts available in the market, including fixed mounts, tilting mounts, and full-motion mounts. Consider your specific needs and preferences when selecting a mount.
Additionally, ensure that the mounting hardware is compatible with your TV. Check the TV's VESA (Video Electronics Standards Association) pattern, which indicates the distance between the mounting holes on the back of the TV. Compare this pattern with the specifications provided by the mount manufacturer to ensure compatibility.
Furthermore, take into account the weight capacity of the mount. The weight of your TV should not exceed the maximum weight capacity specified by the mount manufacturer. It is always better to choose a mount with a higher weight capacity to provide an extra margin of safety.
Step 3: Determine the optimal height and viewing angle
Determining the optimal height and viewing angle for your TV is crucial to ensure a comfortable and enjoyable viewing experience.
Consider the layout of your room, seating arrangement, and the size of your TV when determining the height.
As a general guideline, the center of the TV screen should be at eye level when you are seated. This will help prevent neck strain and provide a more immersive viewing experience. Measure the height from the floor to the desired location of the TV mount and make adjustments as necessary.
Additionally, consider the viewing angle from different seating positions. Ensure that the TV is positioned in a way that provides a clear view from all seating areas in the room. If needed, use a tilt or full-motion mount to adjust the angle of the TV for optimal viewing.
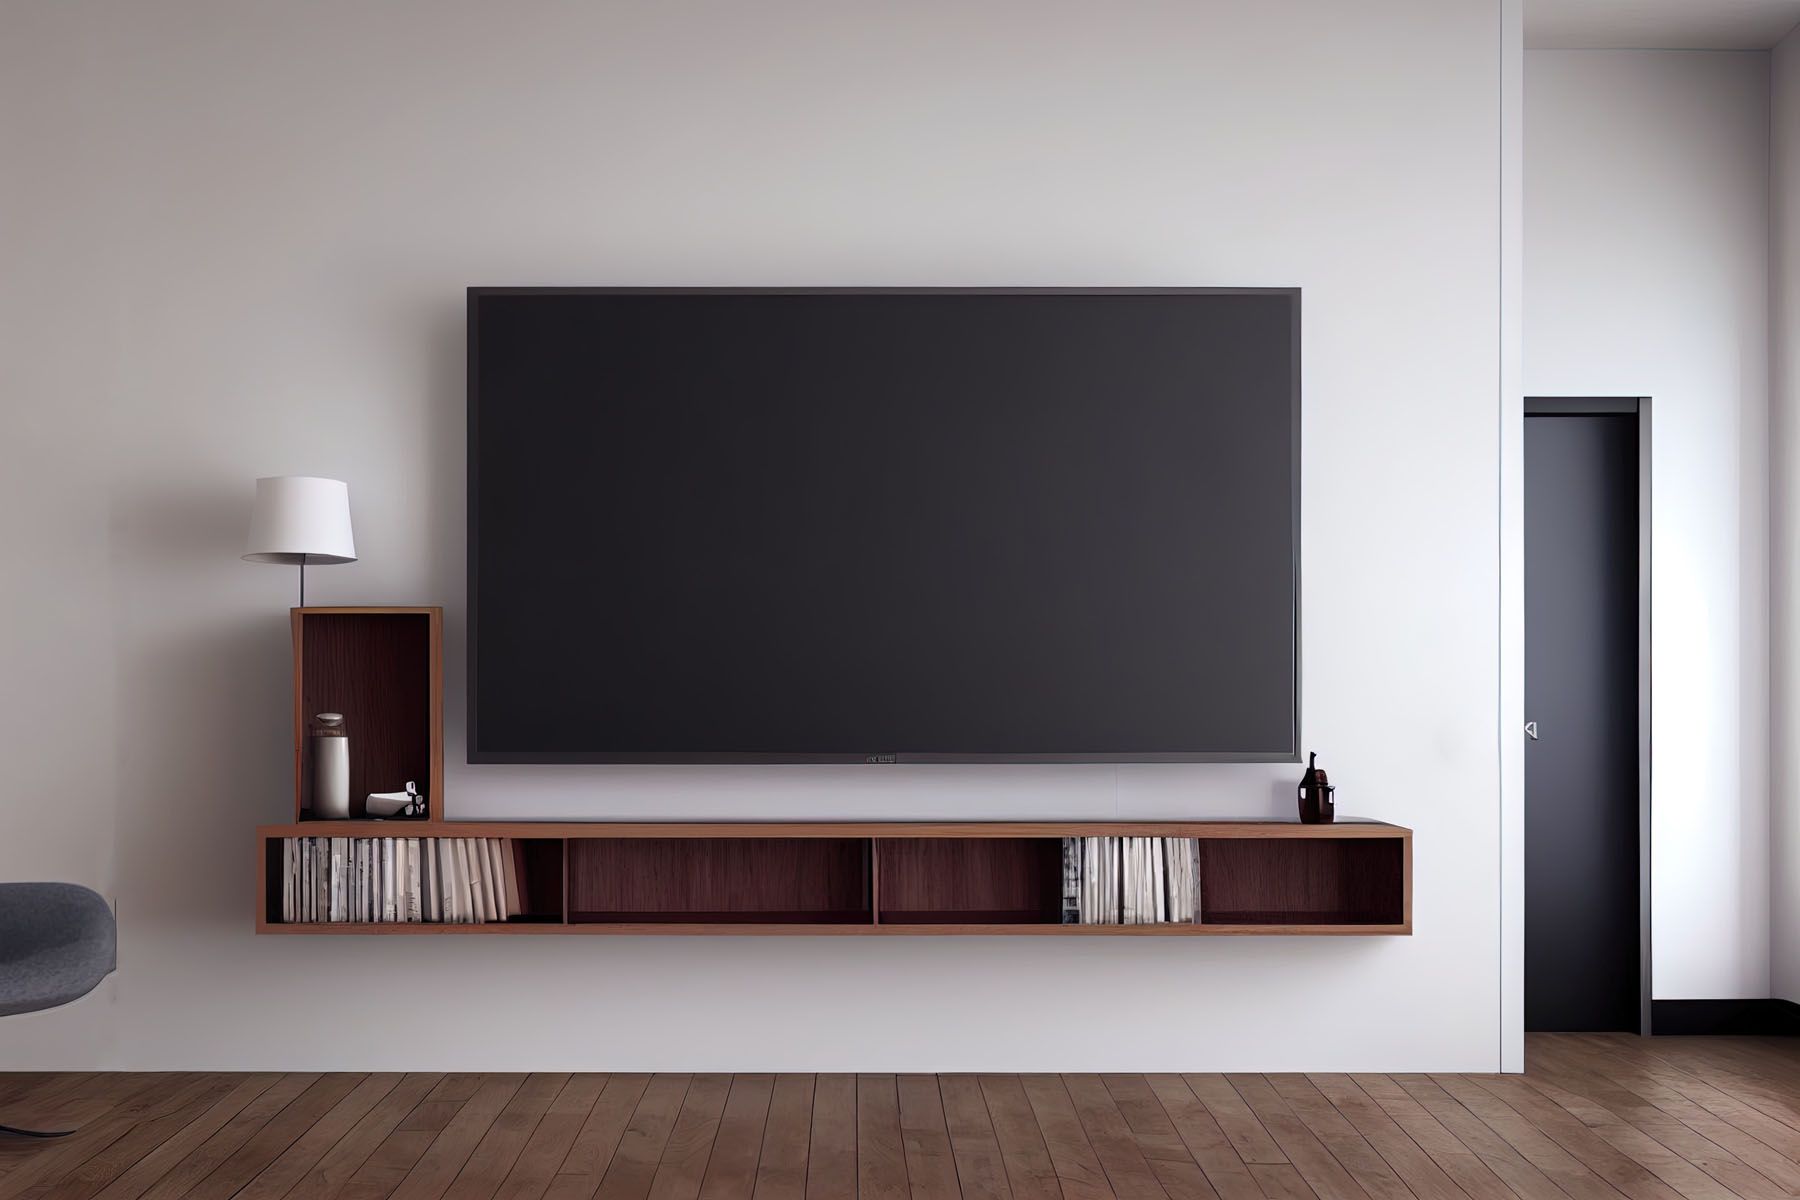
Step 4: Plan the cable management system
To achieve a clean and organized look, it is important to plan the cable management system before mounting the TV. Start by identifying the location of power outlets and cable inputs. Determine the best route for the cables to avoid any tangling or visible wires.
There are various cable management solutions available, such as cable raceways, wall-mounted cable covers, and in-wall cable management kits. Choose the option that best suits your needs and aesthetic preferences. These solutions will help conceal the cables and provide a neat appearance.
Additionally, consider using surge protectors and cable management clips to secure the cables and prevent any accidental disconnections. This will ensure that your TV setup remains safe and functional.
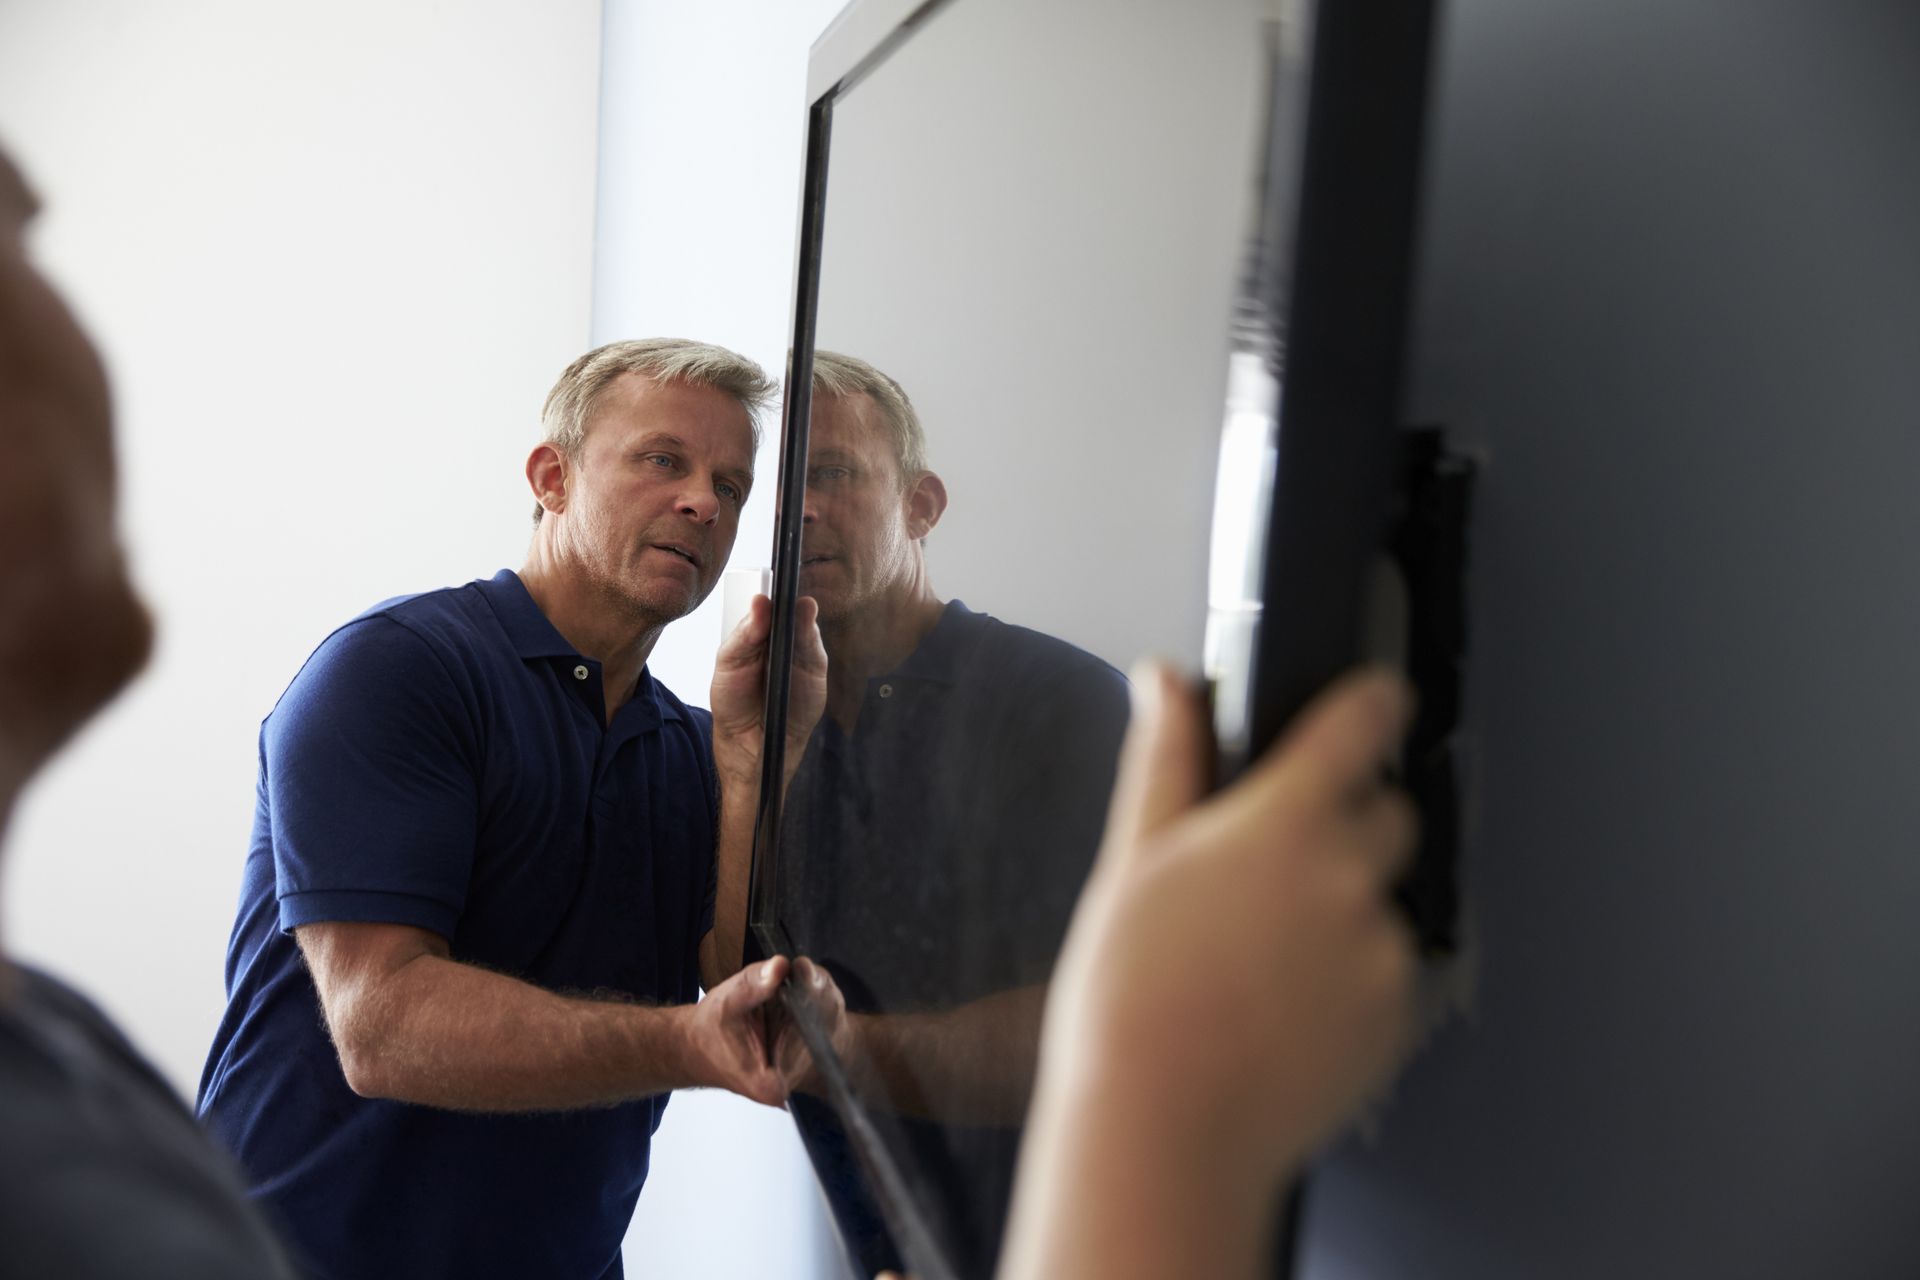
Step 5: Install the TV mount securely on the wall
Once you have completed the necessary preparations, it is time to install the TV mount securely on the wall. Start by attaching the mounting brackets to the back of the TV, following the manufacturer's instructions. Use the provided screws or bolts to secure the brackets tightly.
Next, align the TV mount with the marked stud locations on the wall. Using a level, ensure that the mount is straight and level. Mark the screw hole locations on the wall and pre-drill pilot holes to make the installation process easier.
Finally, attach the TV mount to the wall using the provided screws or bolts. Make sure to tighten them securely to ensure a stable and secure mount. Double-check the alignment and levelness of the mount before proceeding to the next step.
Step 6: Connect and conceal the cables
With the TV mount securely installed, it is time to connect and conceal the cables. Start by connecting the power cable and any other necessary cables to the TV. Use cable ties or Velcro straps to bundle the cables together and prevent any tangling.
Next, route the cables along the planned path, ensuring that they are hidden from view. Depending on your chosen cable management solution, you may need to use adhesive clips or raceways to secure the cables to the wall or conceal them within the wall.
Take your time to organize the cables neatly and ensure that they are not under tension or strain. This will prevent any damage to the cables and maintain the overall aesthetics of your TV setup.
Step 7: Mount the TV onto the wall bracket
With the cables connected and concealed, it is time to mount the TV onto the wall bracket. Enlist the help of a friend or family member to assist you with this step, as TVs can be heavy and cumbersome to handle alone.
Carefully lift and align the TV with the wall mount. Ensure that the mounting brackets on the TV align with the brackets on the wall mount.
Once aligned, gently lower the TV onto the wall mount, making sure that it is securely seated.
Double-check the stability and levelness of the TV. Give it a gentle shake to ensure that it is firmly attached to the wall mount. If needed, make any necessary adjustments to ensure a secure and level installation.
Step 8: Test and adjust the TV position
With the TV mounted, it is important to test and adjust the TV position to achieve the desired viewing experience. Turn on the TV and check for any issues such as screen glare or reflection. If necessary, adjust the viewing angle or position of the TV to minimize glare and optimize picture quality.
Additionally, test the functionality of the TV and ensure that all inputs and features are working properly. Check the connection between the TV and any external devices, such as cable boxes or gaming consoles.
Take the time to fine-tune the TV position and settings to your liking. Sit in different seating positions and make any necessary adjustments to achieve the best viewing experience for everyone in the room.
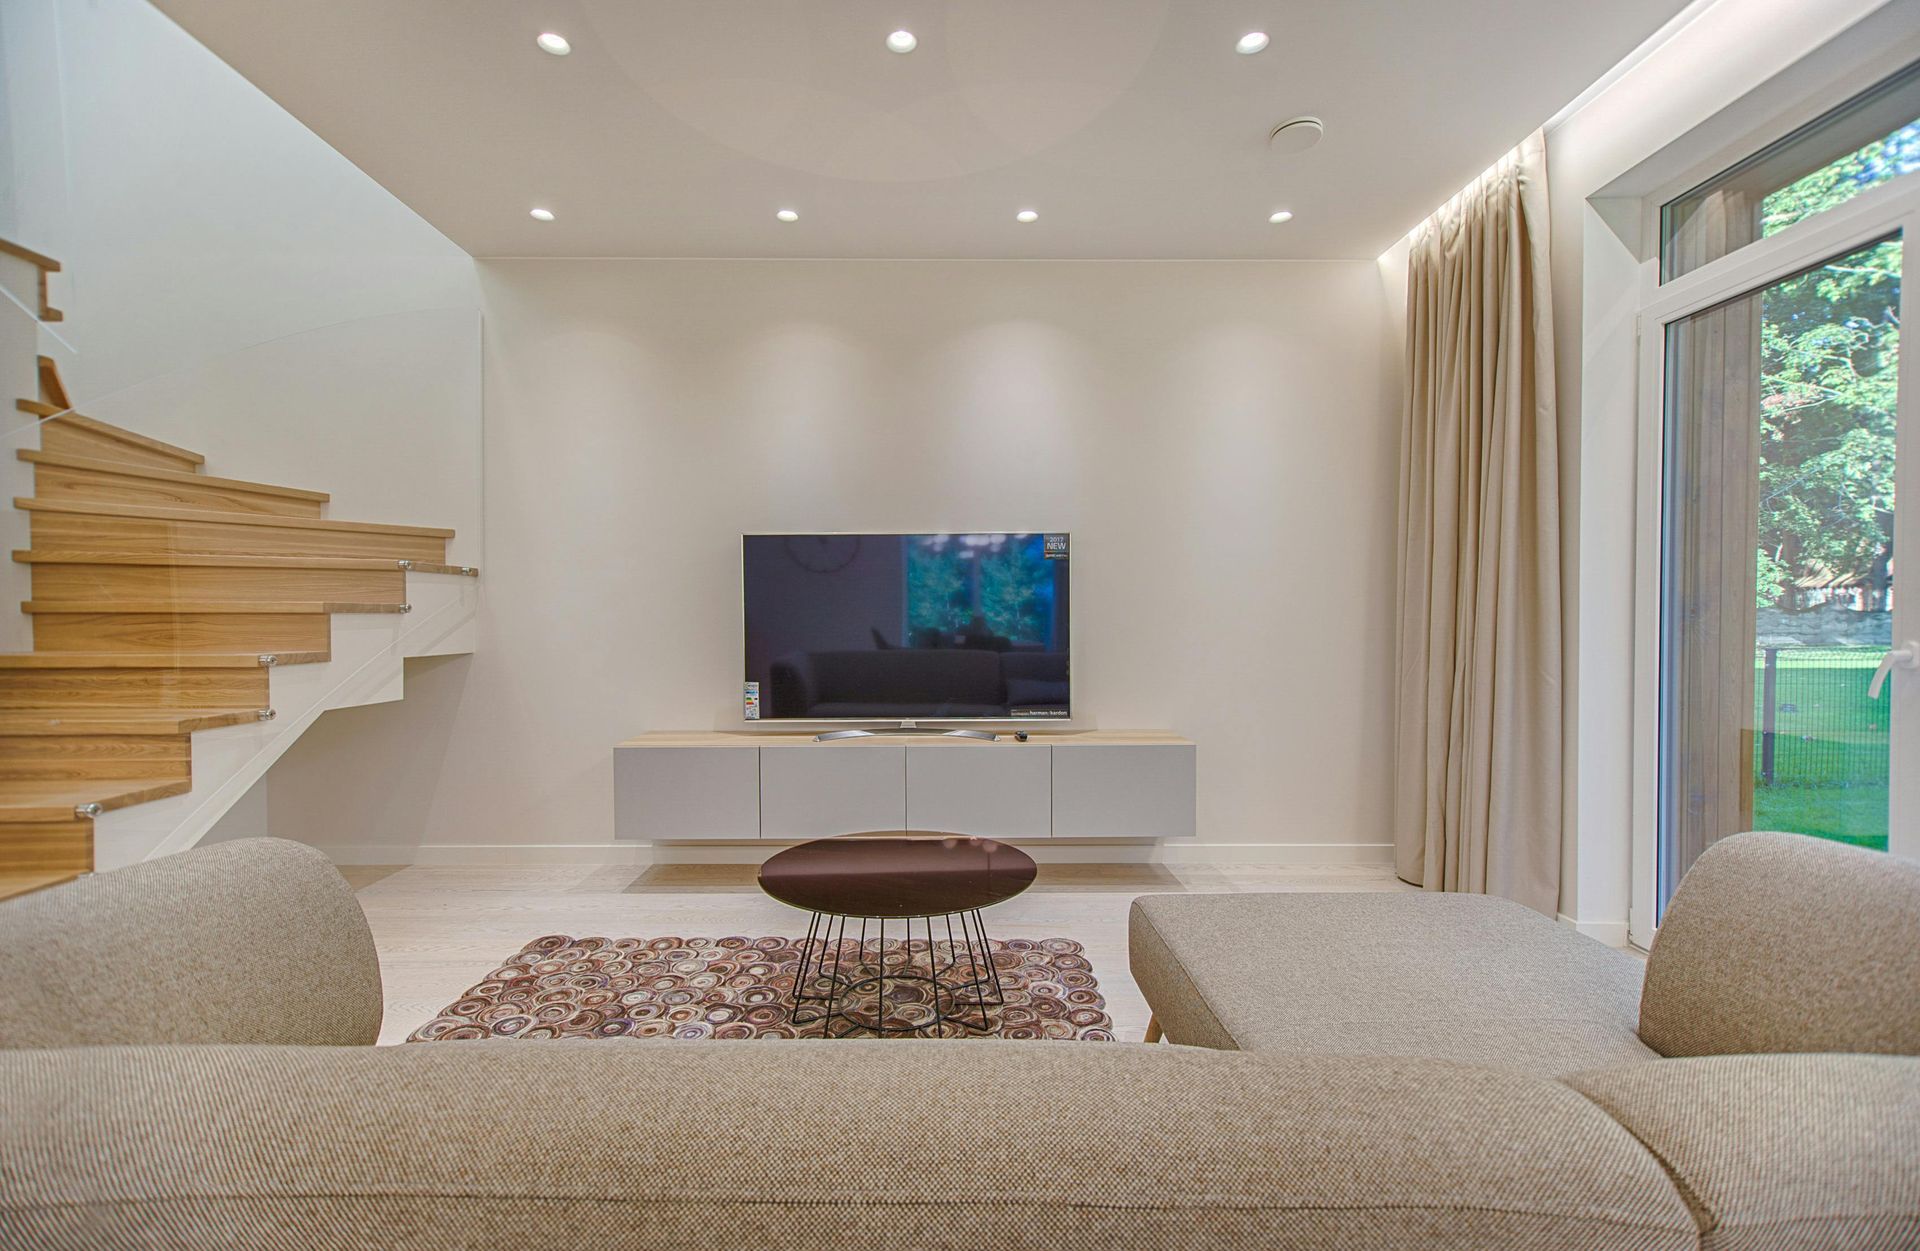
Alternative options for mounting a TV above a gas fireplace
If you have a gas fireplace, mounting a TV above it requires additional precautions due to the heat generated. It is essential to consult the manufacturer's guidelines regarding safe distances for electronics. In some cases, it may not be recommended to mount a TV directly above a gas fireplace due to the high temperatures.
However, there are alternative options for mounting a TV in proximity to a gas fireplace. Consider installing a mantel or shelf adjacent to the fireplace, where the TV can be placed. This will provide a safe distance from the heat while still maintaining an attractive and functional setup.
Another option is to use a wall mount that can be extended or moved to different positions. This allows you to position the TV away from the fireplace when it is in use and bring it closer for optimal viewing during other times.
Conclusion: Enjoy your new TV setup above the fireplace
In conclusion, safely mounting a TV above a fireplace can enhance both the functionality and aesthetics of your living room. By following the step-by-step guide outlined in this article, you can ensure a secure and visually appealing installation.
Remember to evaluate the structural integrity of the wall and fireplace, choose the right mounting hardware, determine the optimal height and viewing angle, plan the cable management system, and follow all safety precautions throughout the process.
If you have a gas fireplace, be sure to consult the manufacturer's guidelines and consider alternative options for mounting the TV at a safe distance from the heat.
Now that you have successfully mounted your TV above the fireplace, sit back, relax, and enjoy your new TV setup. For professional TV mounting and installation services, don't hesitate to get in touch with Hangman Mounting & Installation.