From Start to Finish: Mastering Accessory Installation for a Professional Touch
Introduction to Accessory Installation
When it comes to adding those finishing touches to your home or workplace, nothing can enhance the look and functionality quite like accessories. Whether it's installing a new wall-mounted shelf, hanging a mirror, or mounting a TV, accessory installation requires precision and expertise to achieve a professional-looking finish. In this article, we will explore the importance of hiring a professional for accessory installation, discuss common accessories and their installation requirements, provide a step-by-step guide to installation, share tips and tricks for a polished result, troubleshoot common issues, and recommend brands and resources for installation accessories.
Why Hiring a Professional is Important for Accessory Installation
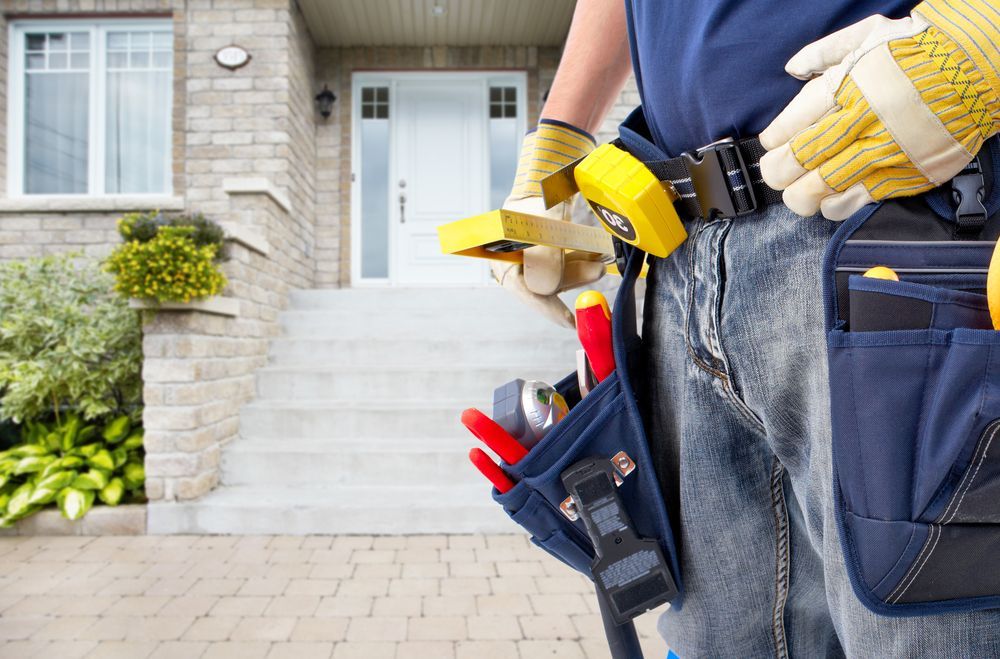
While DIY projects can be fulfilling, accessory installation is an area where expertise and experience truly matter. Hiring a professional ensures that the job is done right the first time, saving you time, effort, and potential headaches. Professionals have the necessary knowledge and skills to assess your space, choose the appropriate installation method, and handle any challenges that may arise during the process.
Additionally, professional installation guarantees the safety and longevity of your accessories. Improper installation can lead to accidents, damage to your property, or premature wear and tear. By entrusting the task to a professional, you can have peace of mind knowing that your accessories are securely and correctly installed, providing you with long-lasting enjoyment.
Common Accessories and Their Installation Requirements
Before diving into the installation process, it's essential to understand the specific requirements for different accessories. Here are some of the most common accessories and their installation considerations:
Wall-Mounted Shelves
Wall-mounted shelves are a versatile accessory that can add both style and functionality to any room. When installing shelves, it is crucial to locate the studs in the wall to ensure proper support. Depending on the weight of the items to be placed on the shelves, it may be necessary to use anchors or brackets for added stability.
Mirrors
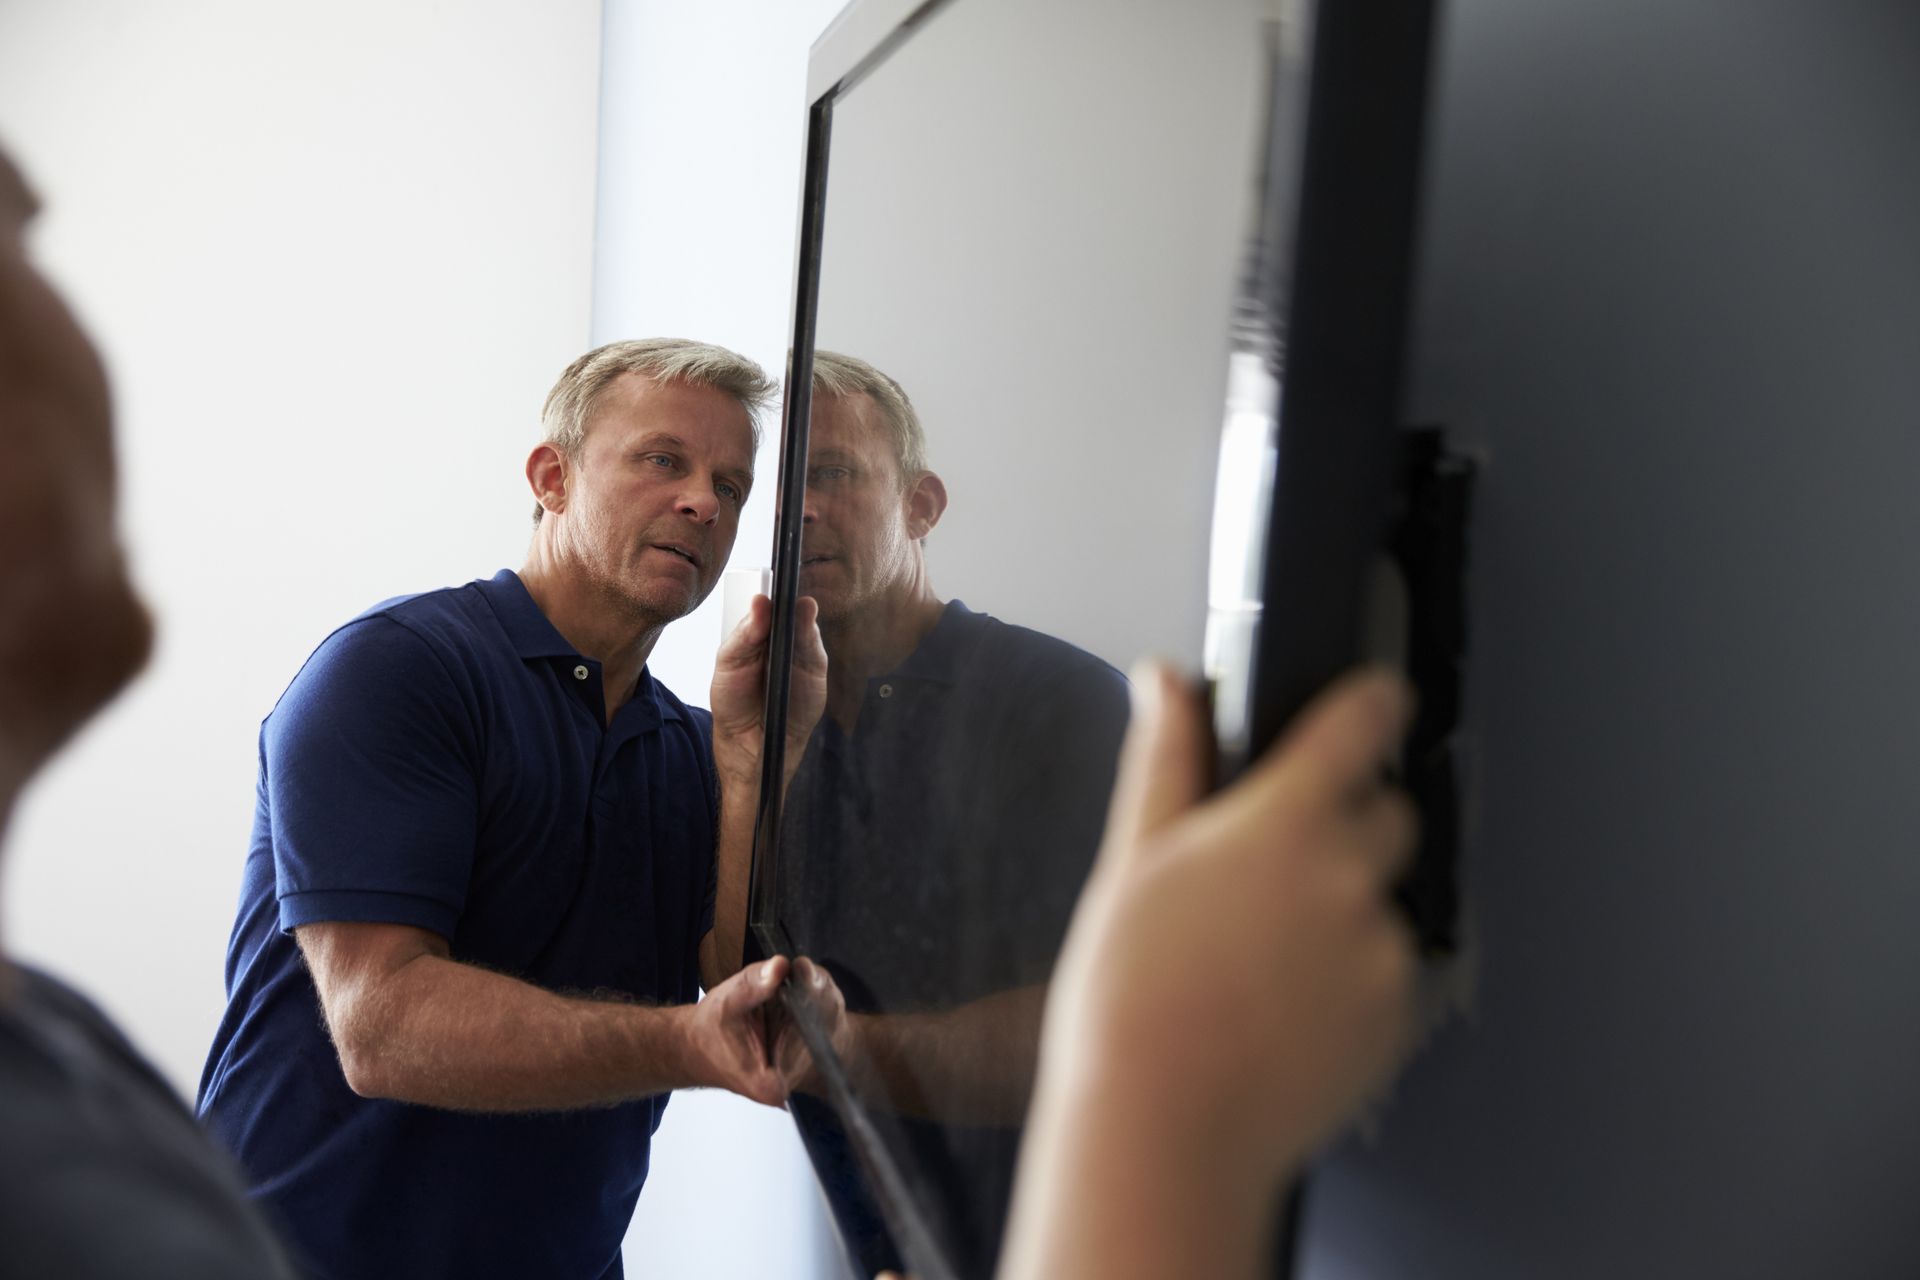
Mirrors can create the illusion of space and enhance the aesthetics of any room. When installing a mirror, it's important to choose the right type of hardware based on the weight and size of the mirror. Wall-mounted mirrors often require the use of heavy-duty hooks or brackets for secure installation.
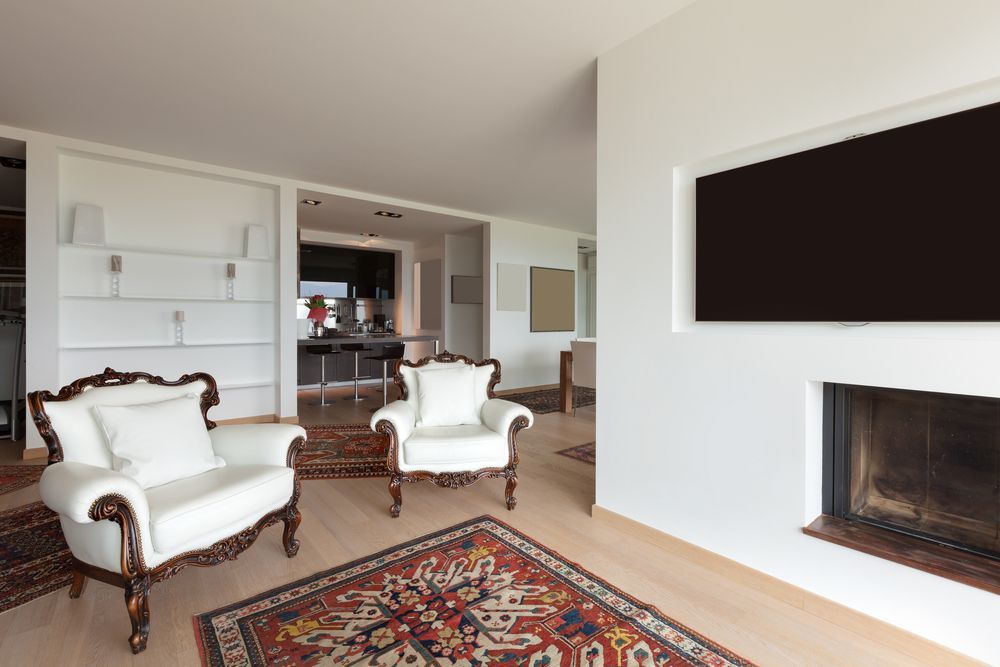
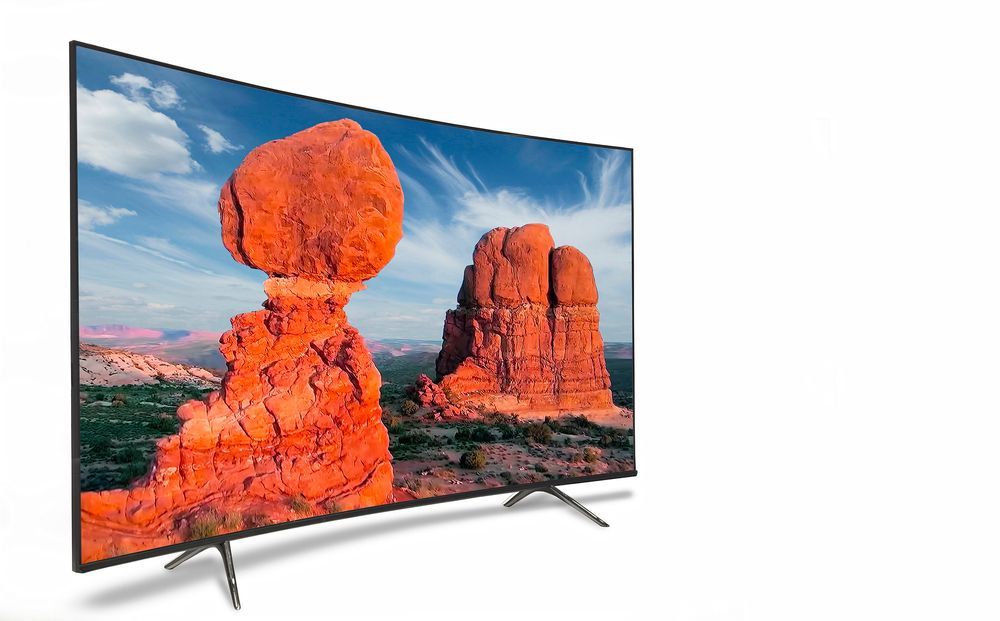
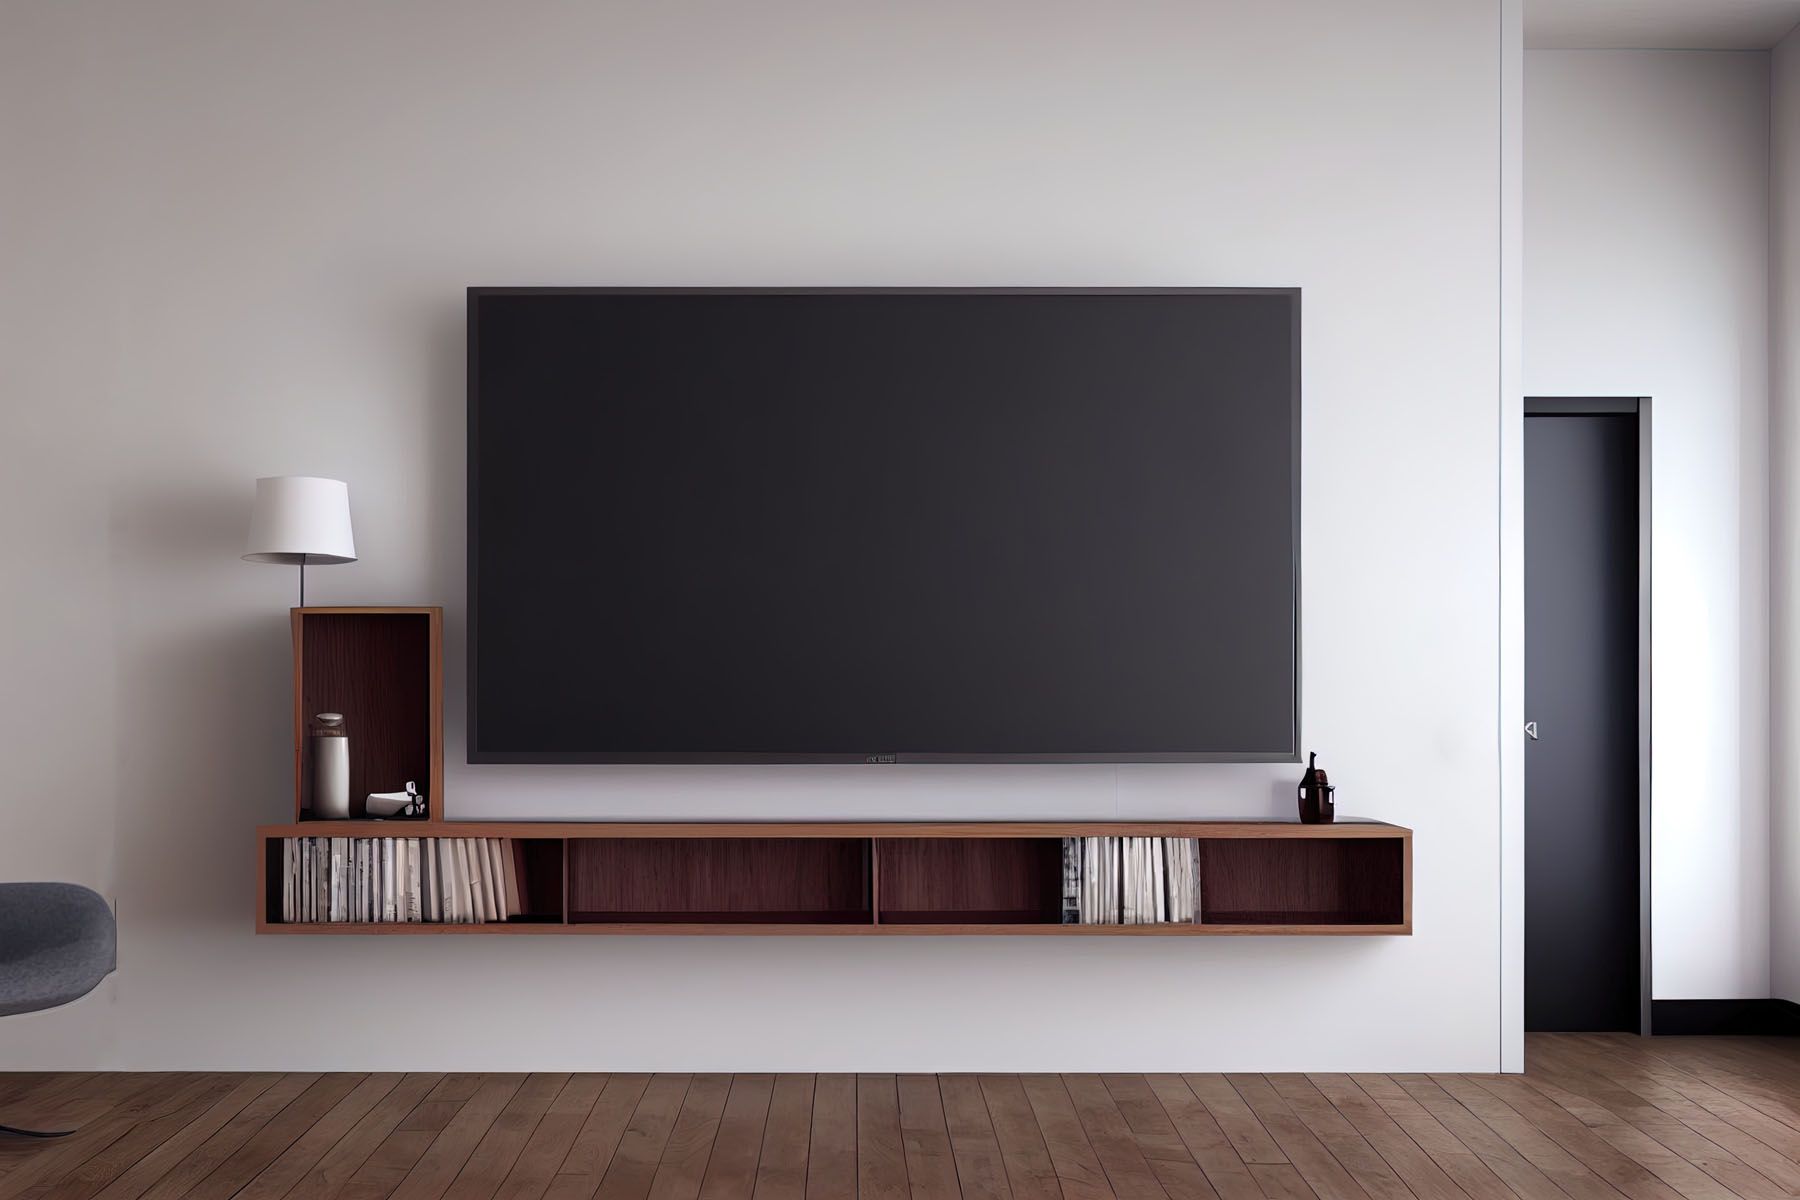
TVs
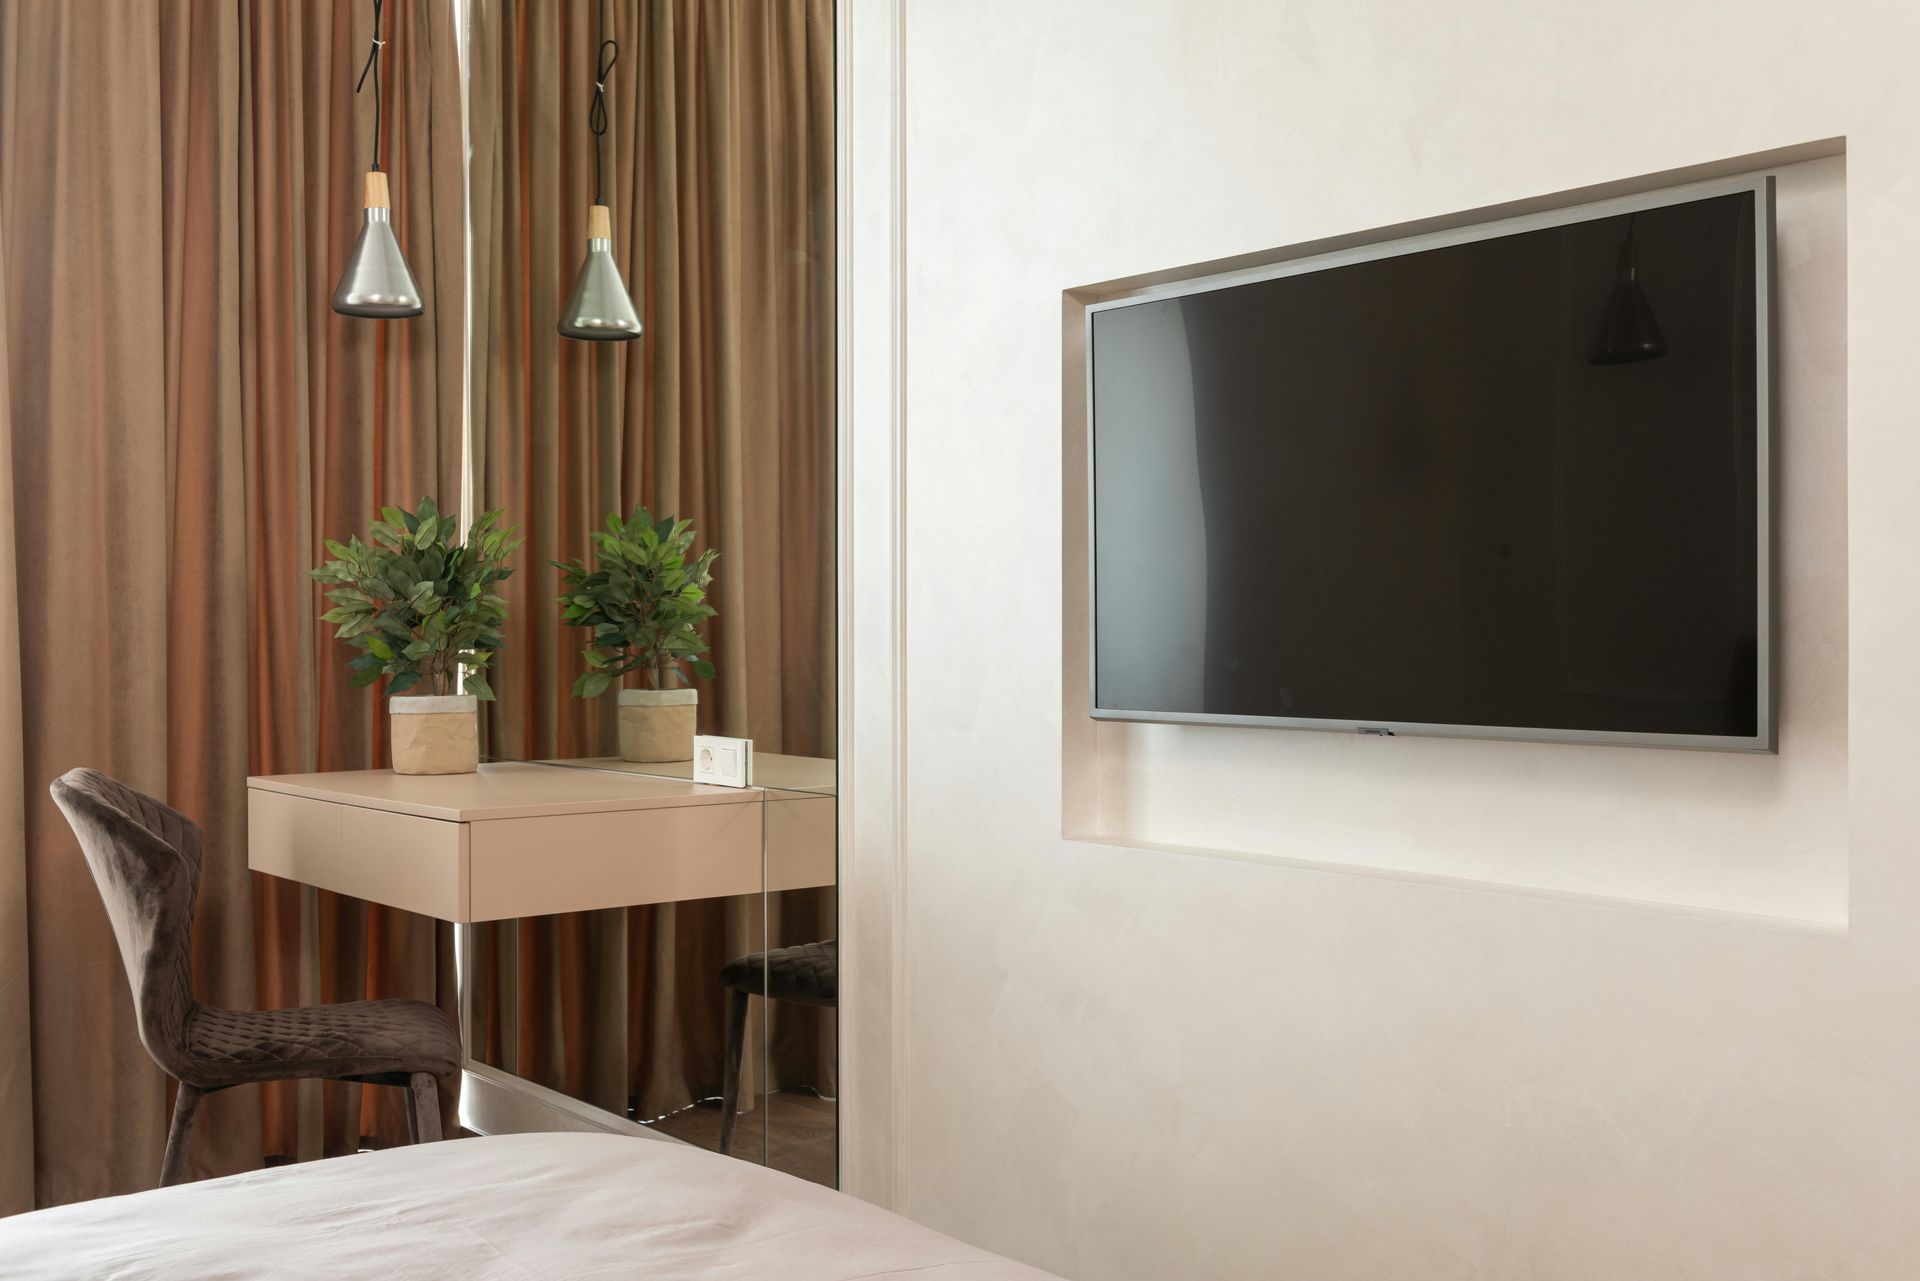
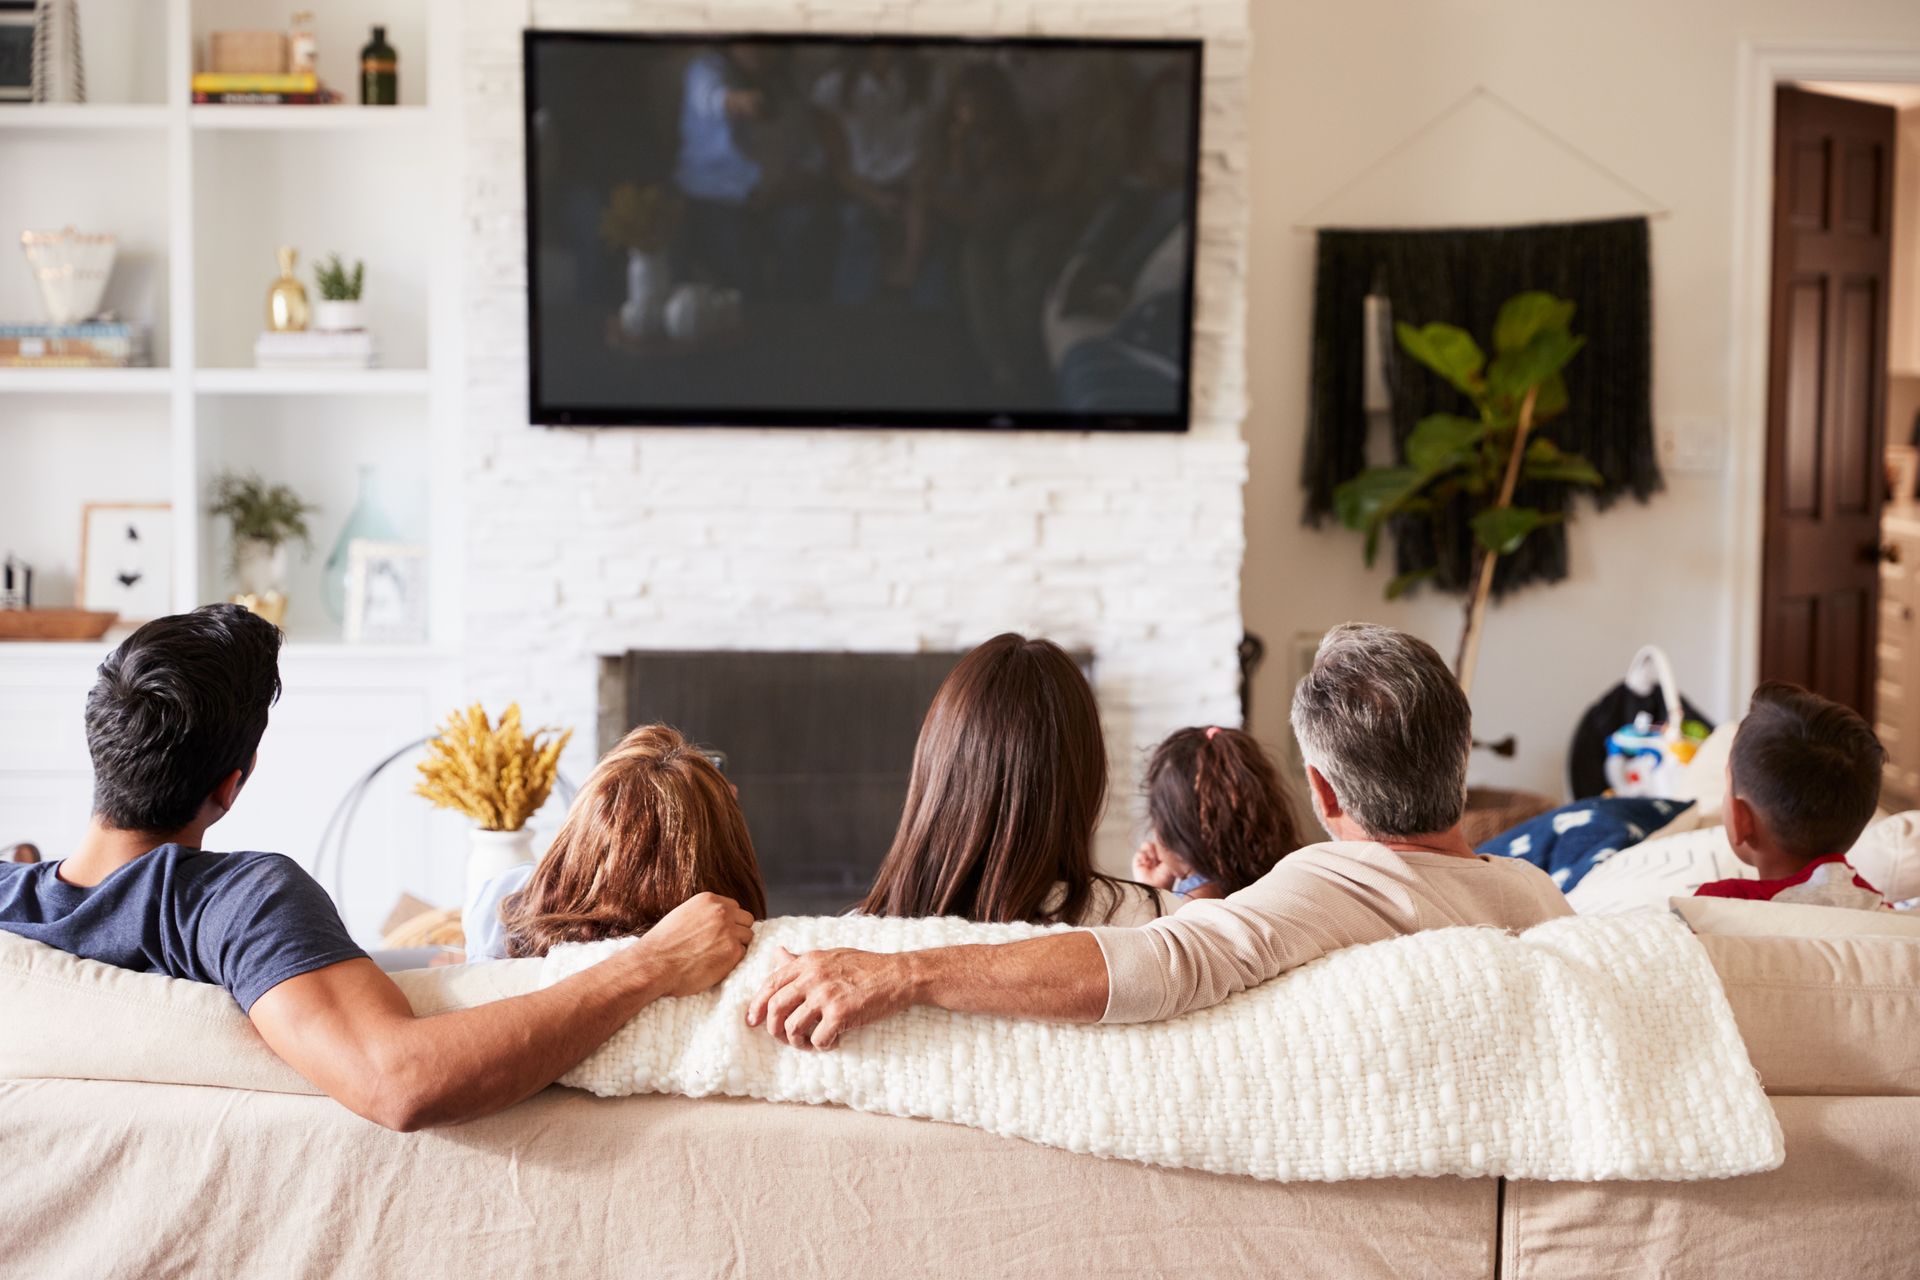
Mounting a TV on the wall not only saves space but also provides a better viewing experience. When installing a TV, it is crucial to find the right wall mount that can support the weight and size of your TV. Additionally, hiding cables and ensuring proper ventilation are important considerations for a clean and functional installation.
Tools and Equipment Needed for Accessory Installation
To achieve a professional-looking finish, it's essential to have the right tools and equipment at your disposal. Here are some of the commonly used tools for accessory installation:
Measuring Tape
Accurate measurements are the key to a successful installation. A measuring tape allows you to measure the dimensions of your accessories and determine the proper placement.
Level
A level is crucial for ensuring that your accessories are installed straight and aligned. It helps prevent a crooked or uneven installation, which can be visually unappealing.
Drill
A drill is a versatile tool that can be used for various accessory installations. It is essential for creating holes, securing screws, and attaching brackets or mounts.
Screwdriver
A screwdriver is necessary for tightening screws and ensuring a secure installation. It is important to have both flathead and Phillips head screwdrivers in your toolkit.
Stud Finder
A stud finder is an invaluable tool for locating studs in the wall. It helps ensure that your accessories are securely anchored to a solid structure for stability.
Step-by-Step Guide to Accessory Installation
Now that you have a good understanding of the importance of hiring a professional, the common accessories and their installation requirements, and the necessary tools and equipment, let's dive into a step-by-step guide to accessory installation:
Step 1: Prepare the Area
Before starting the installation, clear the area and ensure that you have enough space to work comfortably. Remove any obstructions or furniture that may hinder the installation process.
Step 2: Gather the Necessary Tools and Equipment
Refer to the previous section and gather all the required tools and equipment for the specific accessory you are installing.
Step 3: Measure and Mark
Using a measuring tape, measure the dimensions and determine the desired placement of your accessory. Use a pencil to mark the spots where you will be drilling or attaching hardware.
Step 4: Locate Studs
Use a stud finder to locate the studs in the wall. This step is crucial for ensuring a secure installation, especially for heavier accessories.
Step 5: Drill Holes
Using the appropriate drill bit, create the necessary holes for anchors, screws, or brackets. Be mindful of the material and thickness of the wall to choose the correct drill bit.
Step 6: Install Anchors, Brackets, or Mounts
Place the anchors, brackets, or mounts into the drilled holes. Ensure they are secure and properly aligned with your markings.
Step 7: Attach the Accessory
Carefully attach your accessory to the installed anchors, brackets, or mounts. Follow the manufacturer's instructions for the specific accessory to ensure a proper and secure attachment.
Step 8: Check for Stability
Once the accessory is attached, give it a gentle tug or shake to ensure it is stable and secure. Make any necessary adjustments or tighten screws if needed.
Step 9: Clean Up
Remove any debris or dust created during the installation process. Clean the area around the installed accessory to give it a polished look.
Tips and Tricks for a Professional-Looking Finish
To achieve a truly professional-looking finish, consider implementing the following tips and tricks:
Use a Level
Ensure that your accessory is level and aligned by using a level throughout the installation process. This will create a clean and visually appealing result.
Hide Cables
For accessories that involve cables, such as wall-mounted TVs or speakers, invest in cable management solutions to hide unsightly wires. This will give your installation a sleek and clutter-free appearance.
Choose the Right Hardware
Select high-quality and durable hardware for your accessories. Cheap or flimsy hardware can compromise the stability and safety of your installation.
Follow Instructions
Always refer to the manufacturer's instructions for the specific accessory you are installing. They provide valuable guidance on the proper installation process and any additional considerations.
Take Your Time
Rushing through the installation can lead to mistakes and an unprofessional finish. Take your time, double-check measurements and markings, and ensure each step is done meticulously.
Troubleshooting Common Issues During Accessory Installation
Despite careful planning and execution, problems can still arise during accessory installation. Here are some common issues and how to troubleshoot them:
Loose or Unstable Attachment
If your accessory feels loose or unstable after installation, double-check that all screws and brackets are securely tightened. If needed, remove the accessory, reposition the hardware, and reinstall.
Uneven or Crooked Installation
If your accessory appears uneven or crooked, use a level to assess the alignment. Loosen any screws or brackets, make the necessary adjustments, and tighten them again.
Damaged Walls
Accidents can happen, and you may accidentally damage the walls during installation. For small holes or scratches, use spackle or putty to fill them in. For larger damages, consult a professional for repairs.
Insufficient Support
If your accessory is too heavy for the installation method you chose, it may not be adequately supported. Consider reinforcing the installation with additional anchors, brackets, or mounts for added stability.
Hiring Professional Installation Services for Complex Accessories
While many accessory installations can be tackled as DIY projects, some complex accessories require the expertise and skills of a professional. Here are a few examples of complex accessories that are best left to professionals:
Chandeliers and Light Fixtures
Chandeliers and intricate light fixtures often require electrical knowledge and expertise. Hiring a professional electrician ensures that the installation is code-compliant and safe.
Home Theater Systems
Setting up a home theater system involves complex wiring and calibration. Professional installers can optimize the sound and visual experience, ensuring that all components are correctly connected and programmed.
Security Systems
Installing a security system involves the integration of various components, such as cameras, sensors, and control panels. Professionals can design and install a system tailored to your needs, ensuring optimal functionality and security.
Recommended Brands and Resources for Installation Accessories
To achieve the best results in accessory installation, it's important to choose high-quality brands and utilize reliable resources. Here are a few recommended brands and resources:
Hangman Mounting & Installation
For your handyman services needs, including accessory installation, get in touch with Hangman Mounting & Installation. Their team of professionals has the expertise and experience to ensure a seamless and professional installation.
3M Command
3M Command offers a range of adhesive hooks and strips that provide a damage-free and easy installation solution for lightweight accessories. They are ideal for renters or those who prefer not to drill holes in the walls.
Stanley
Stanley is a reputable brand that provides a wide range of tools suitable for accessory installation. Their products are known for their durability and reliability, making them a great choice for any DIY enthusiast or professional.
Conclusion
Mastering accessory installation is an essential skill for creating a professional and finished look in your home or workplace. By understanding the importance of hiring professionals, knowing the specific requirements for different accessories, and following a step-by-step guide, you can confidently tackle accessory installation projects. Remember to use the recommended tools and equipment, implement tips and tricks for a polished finish, troubleshoot common issues, and consider hiring professionals for complex installations. With the right approach and attention to detail, you can transform your space with beautifully installed accessories.
Get in touch with Hangman Mounting & Installation for your Handyman Services needs.